Yamaha scooter information center |
Brochures
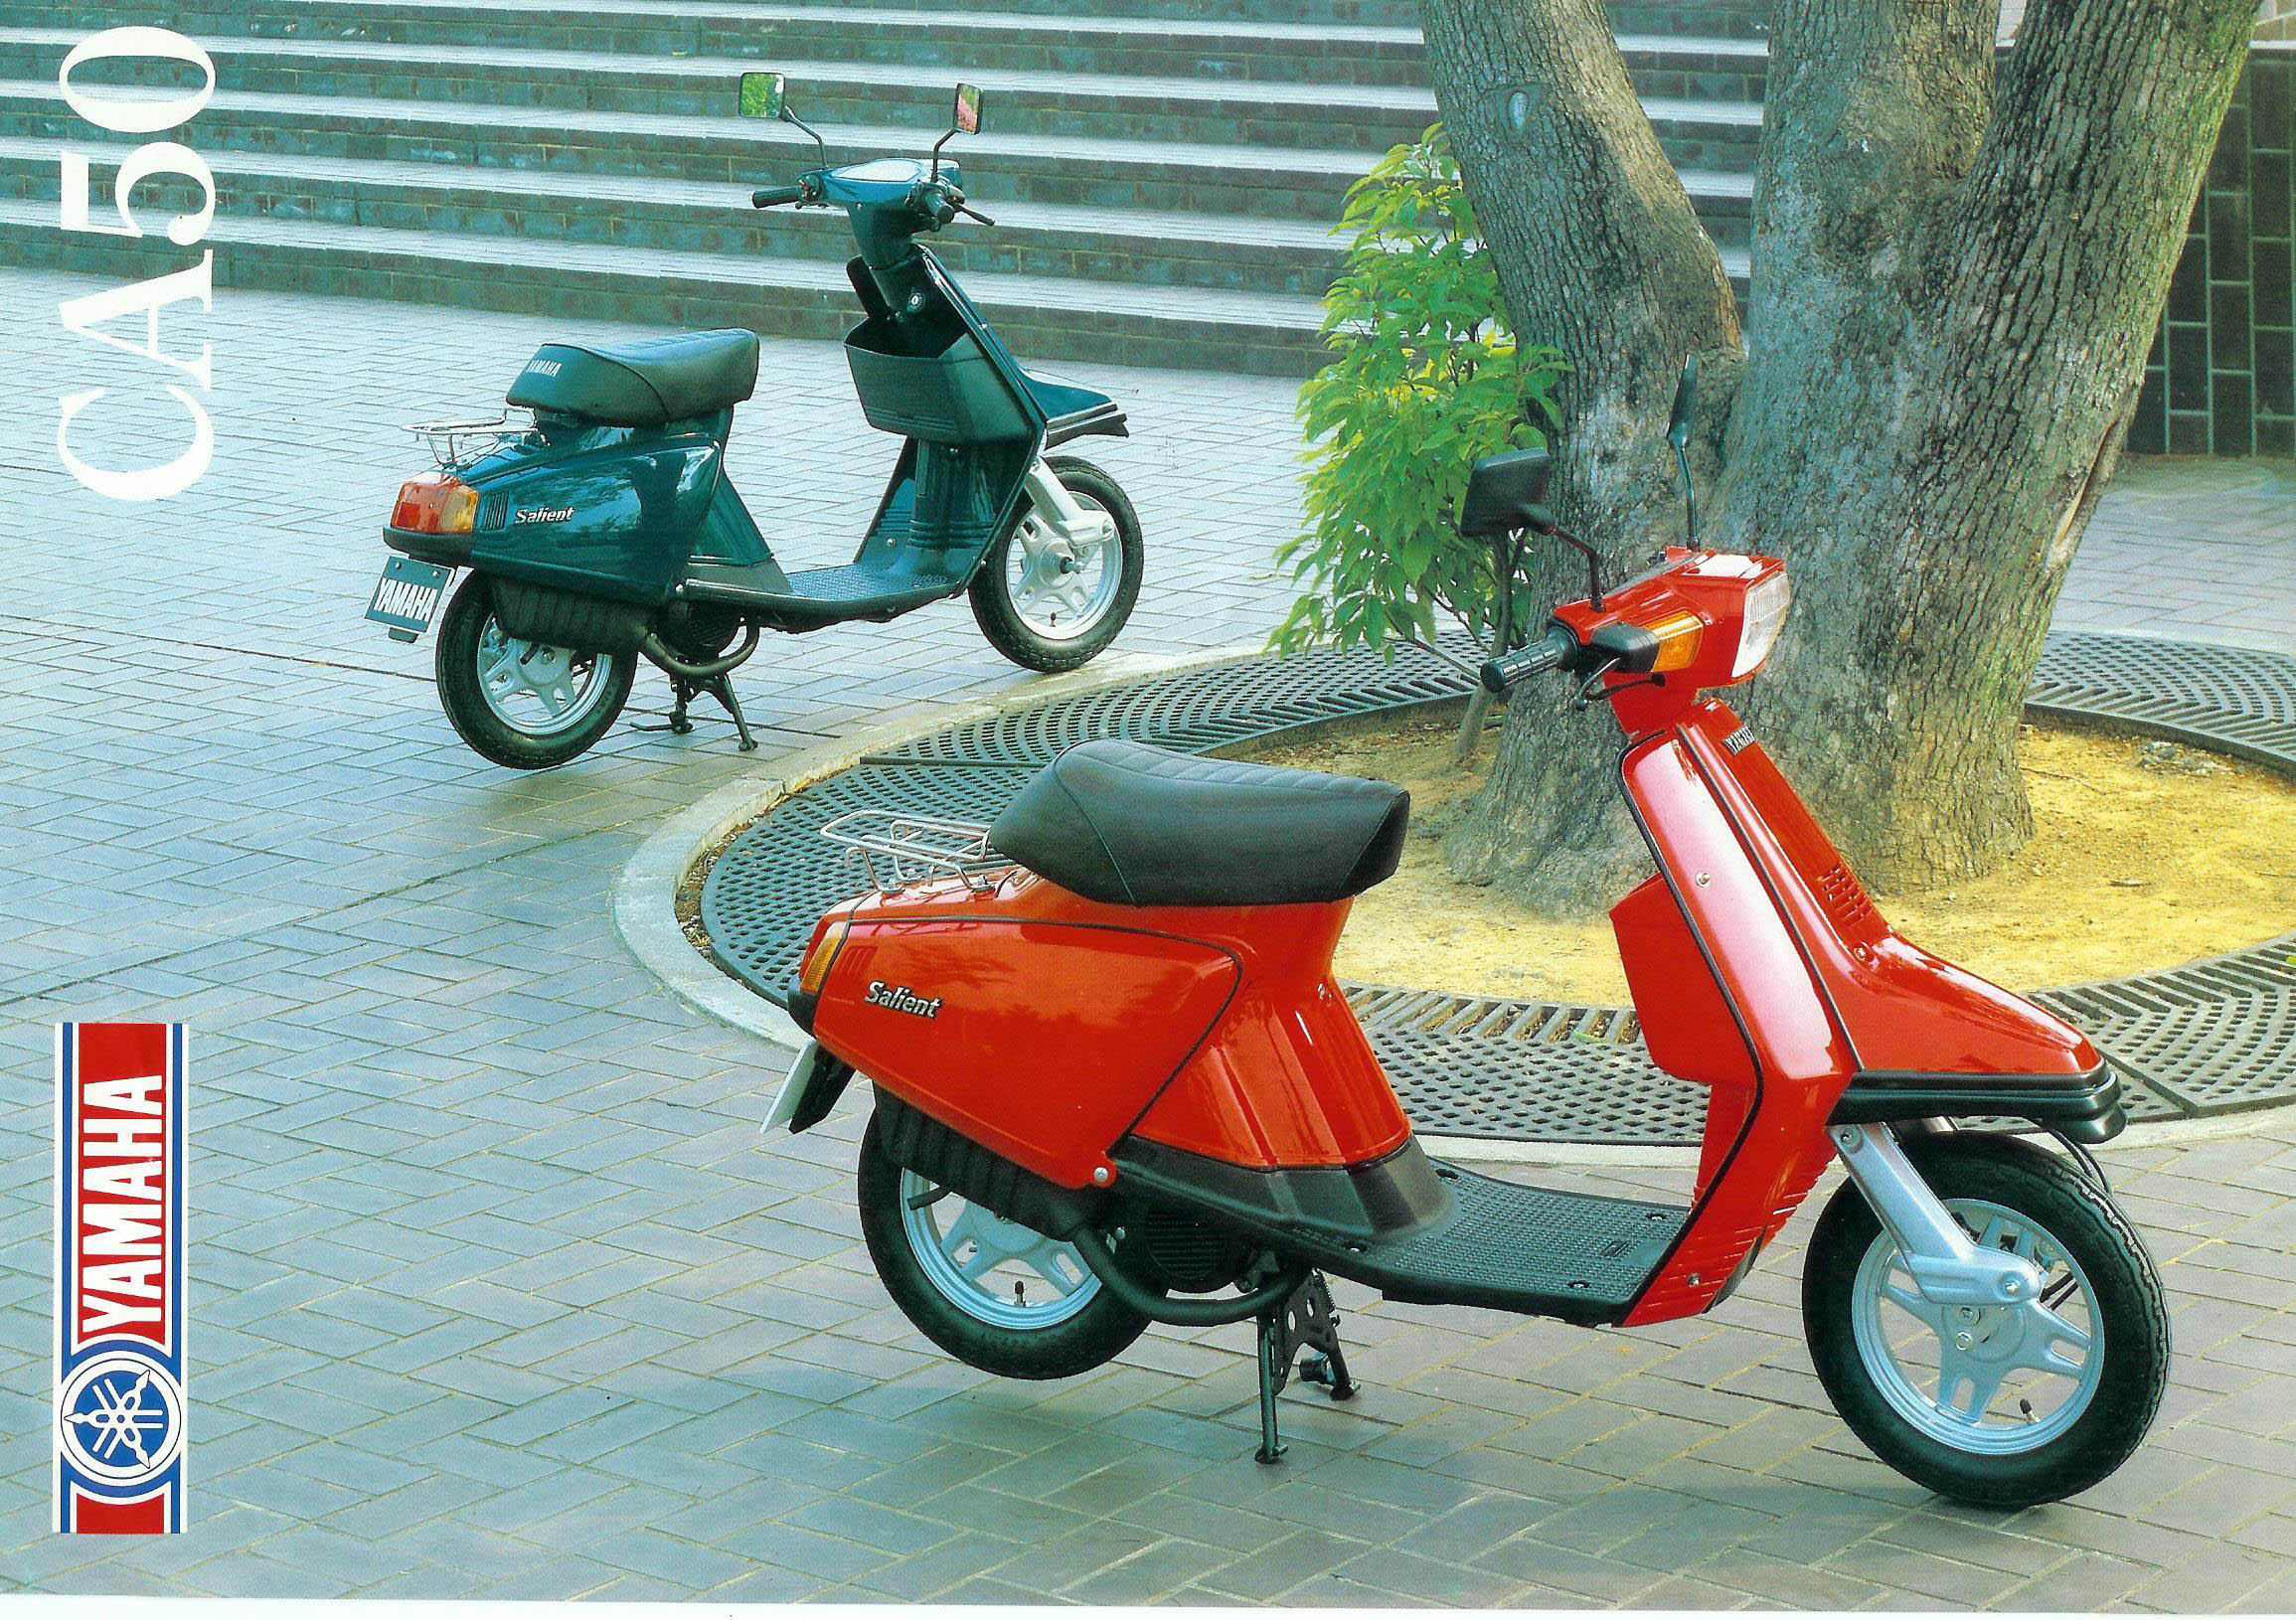
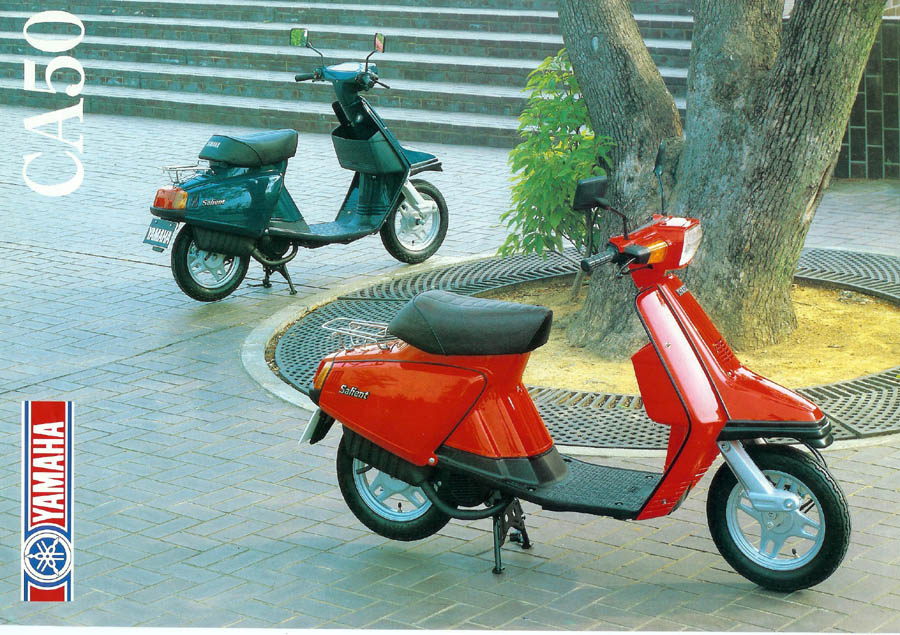
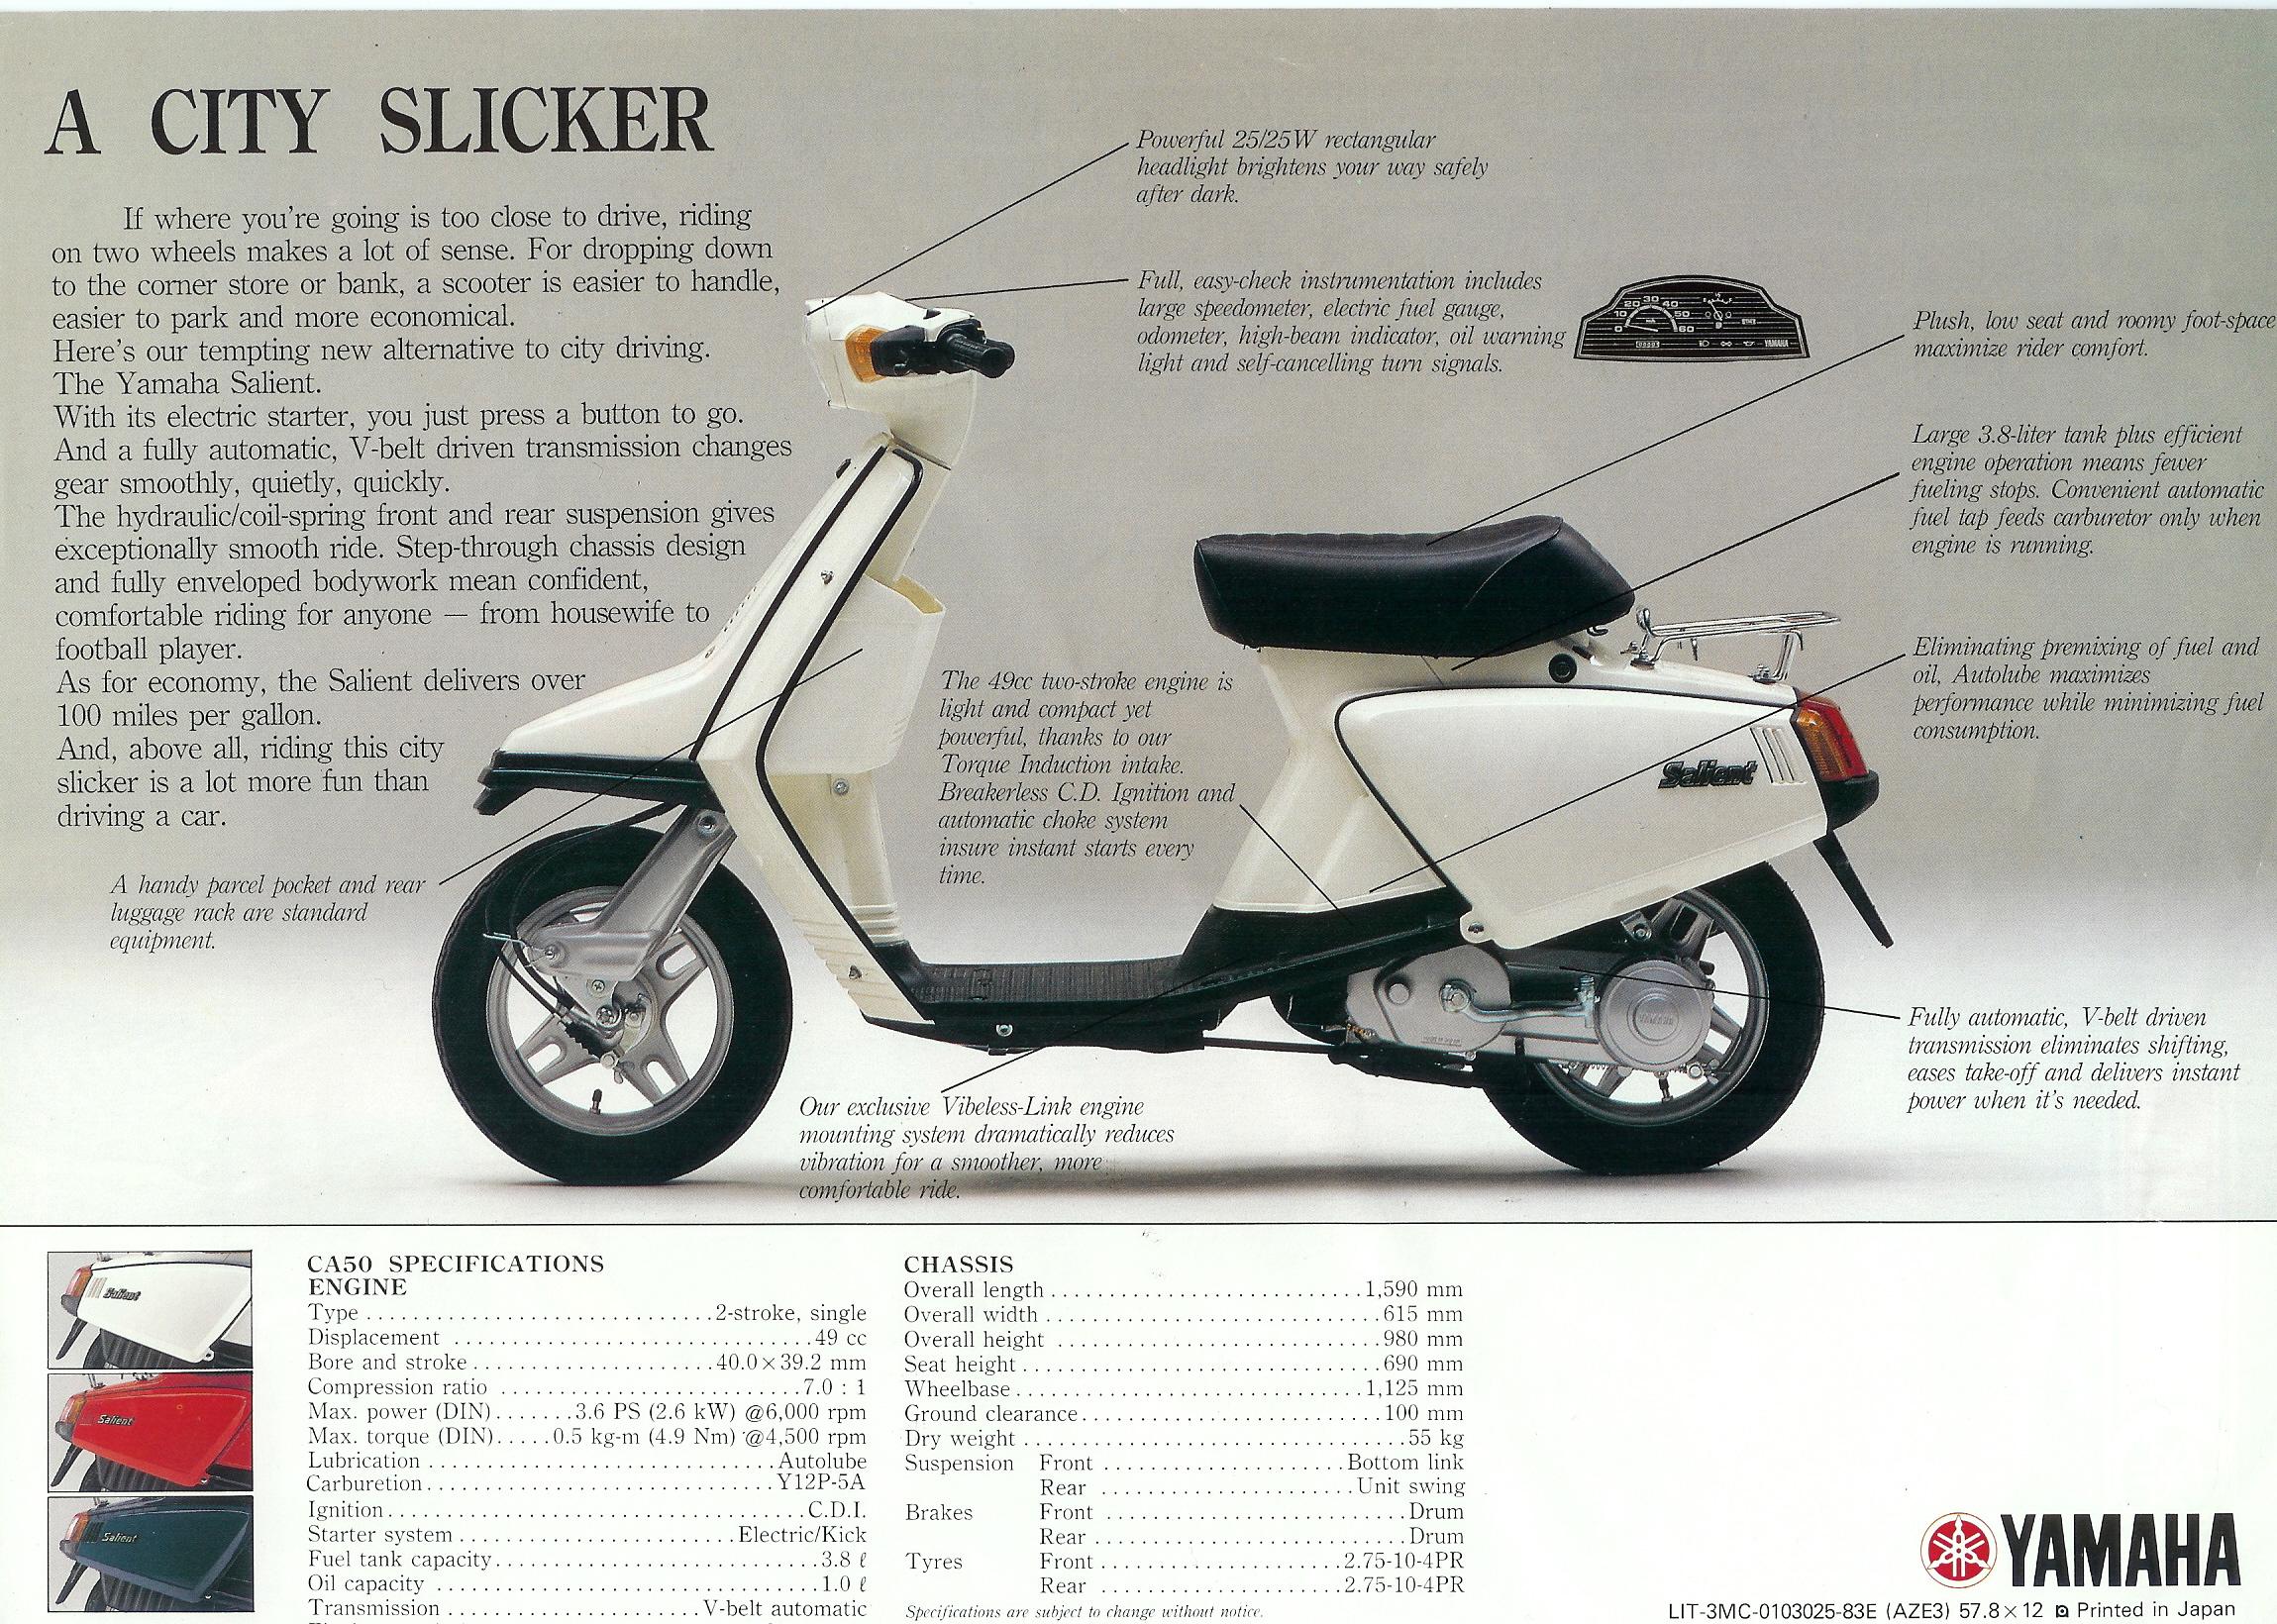
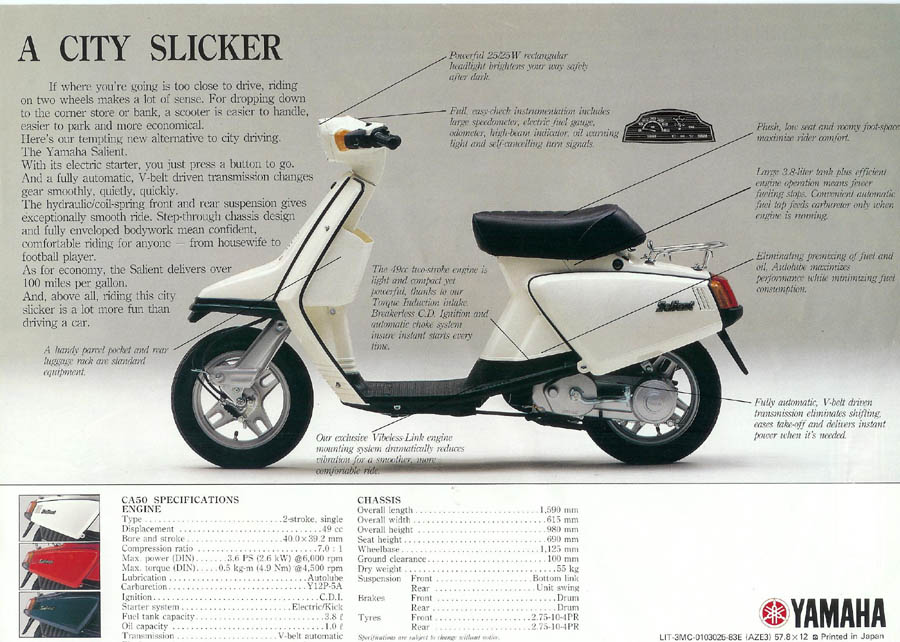
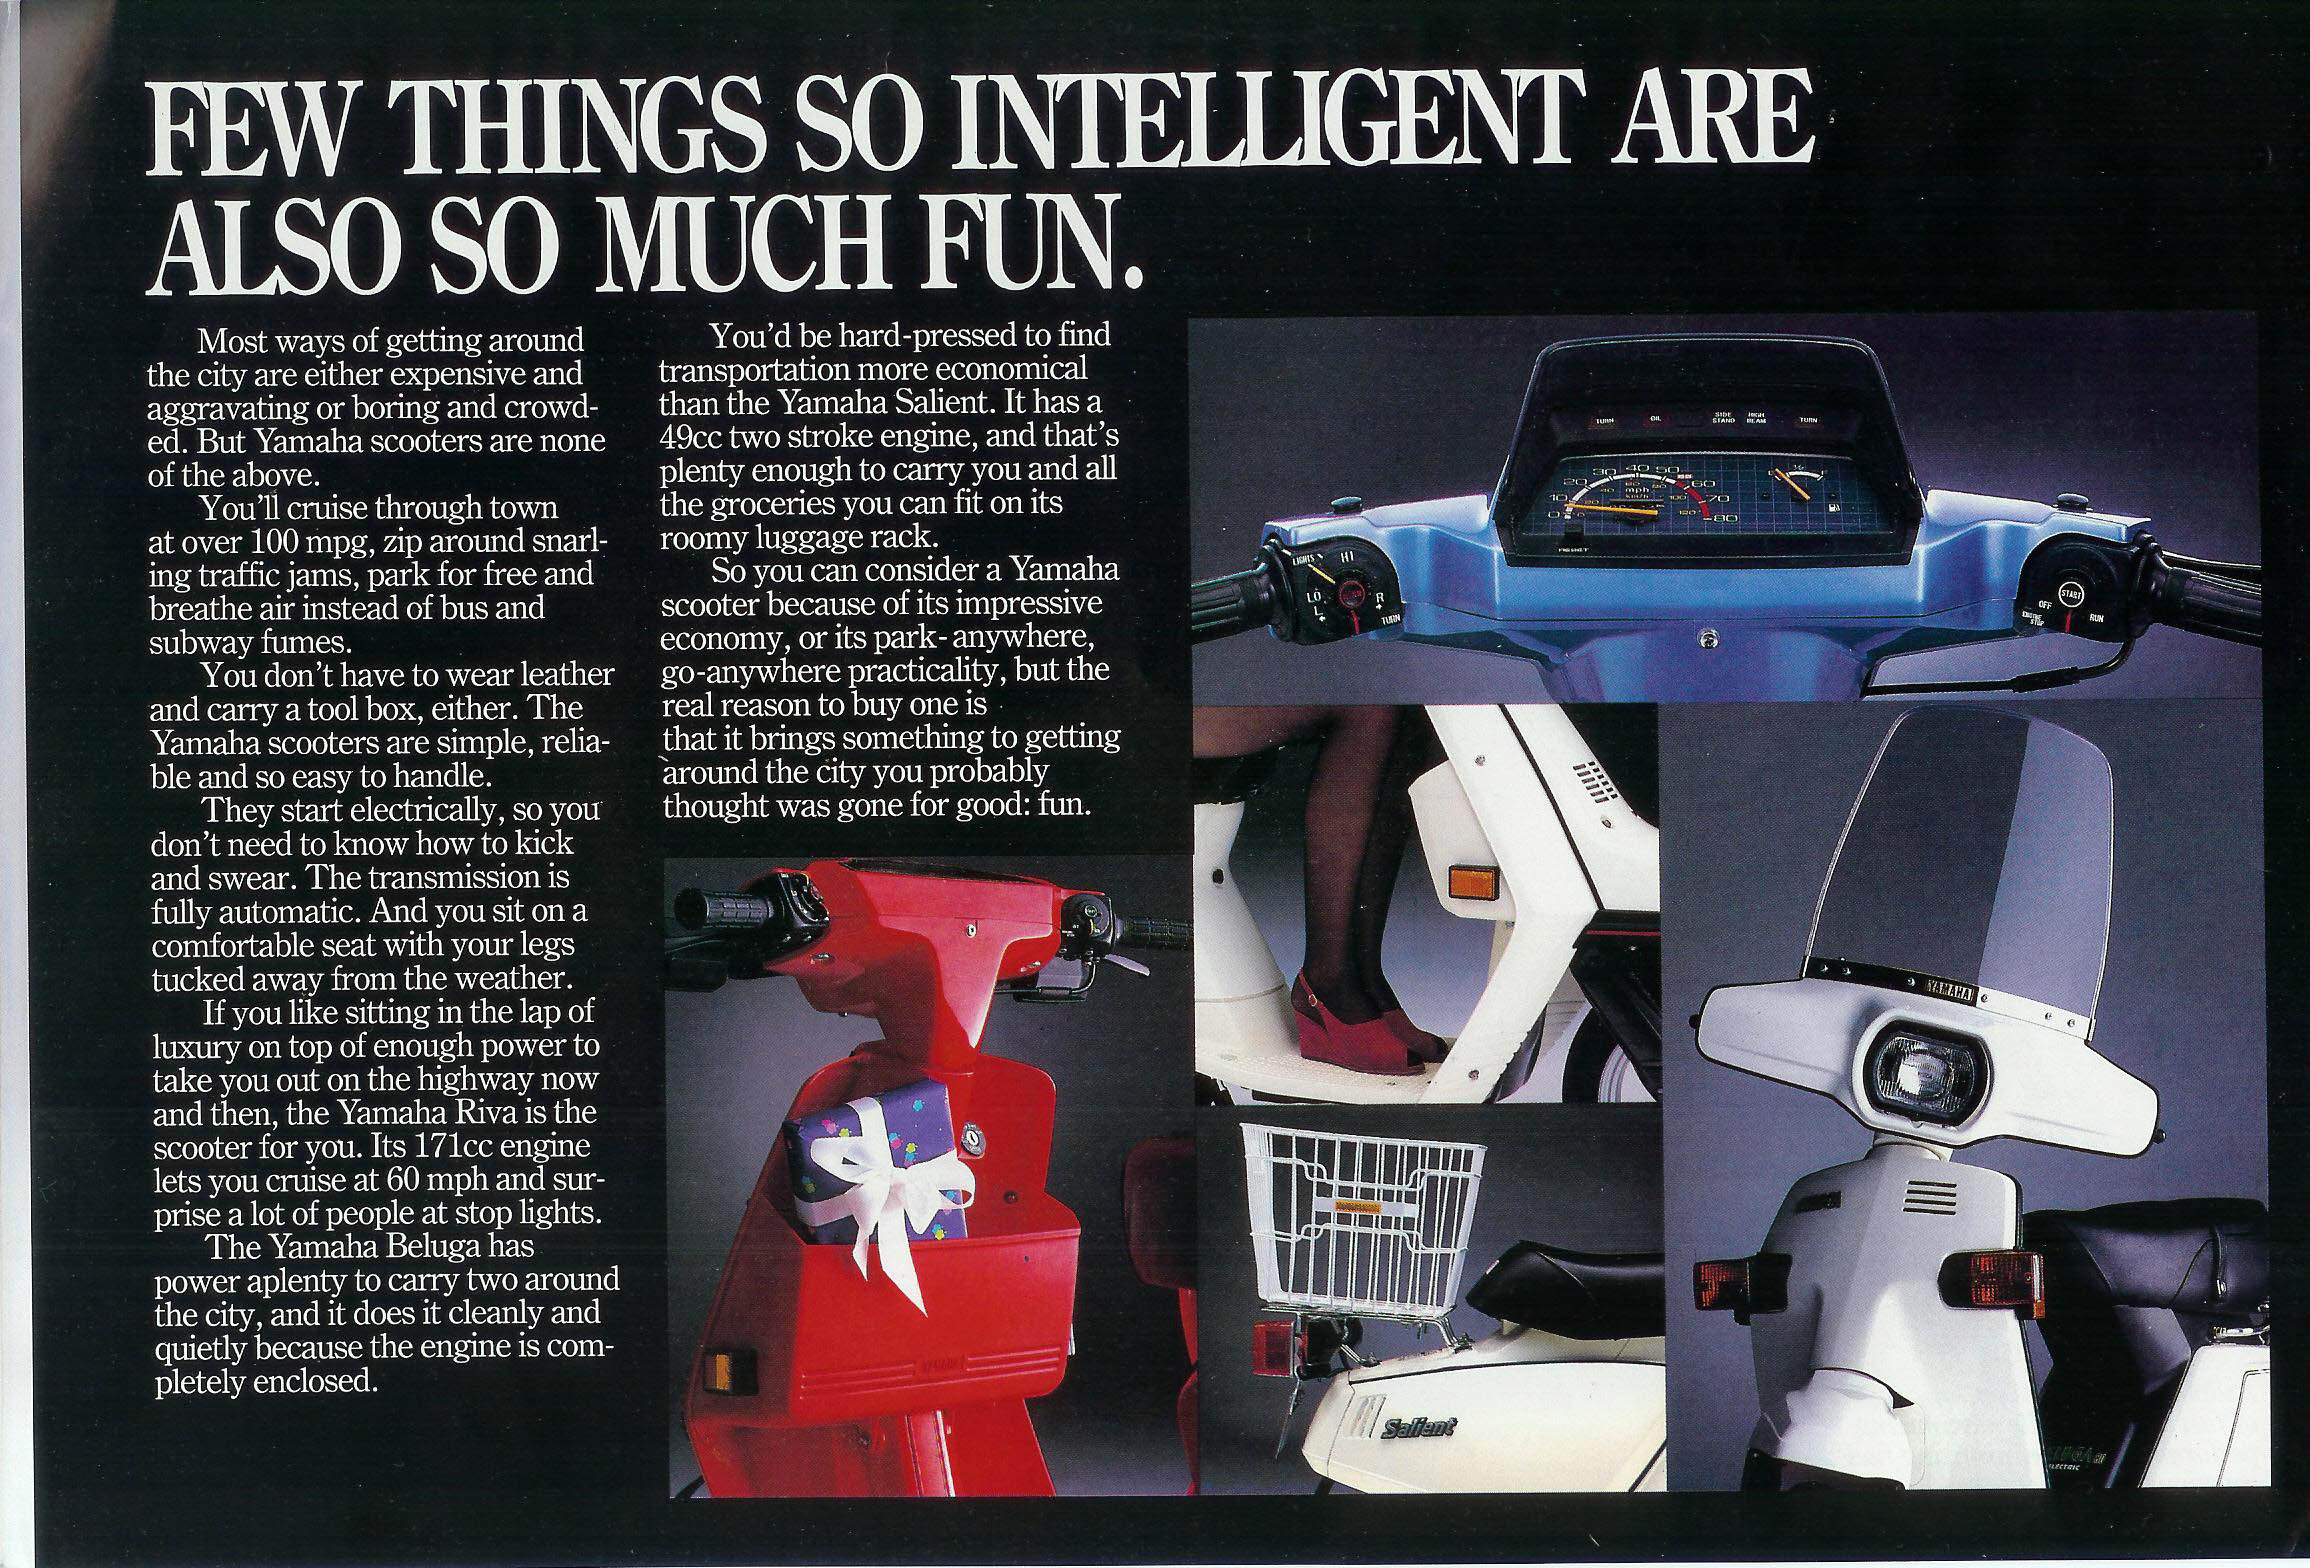
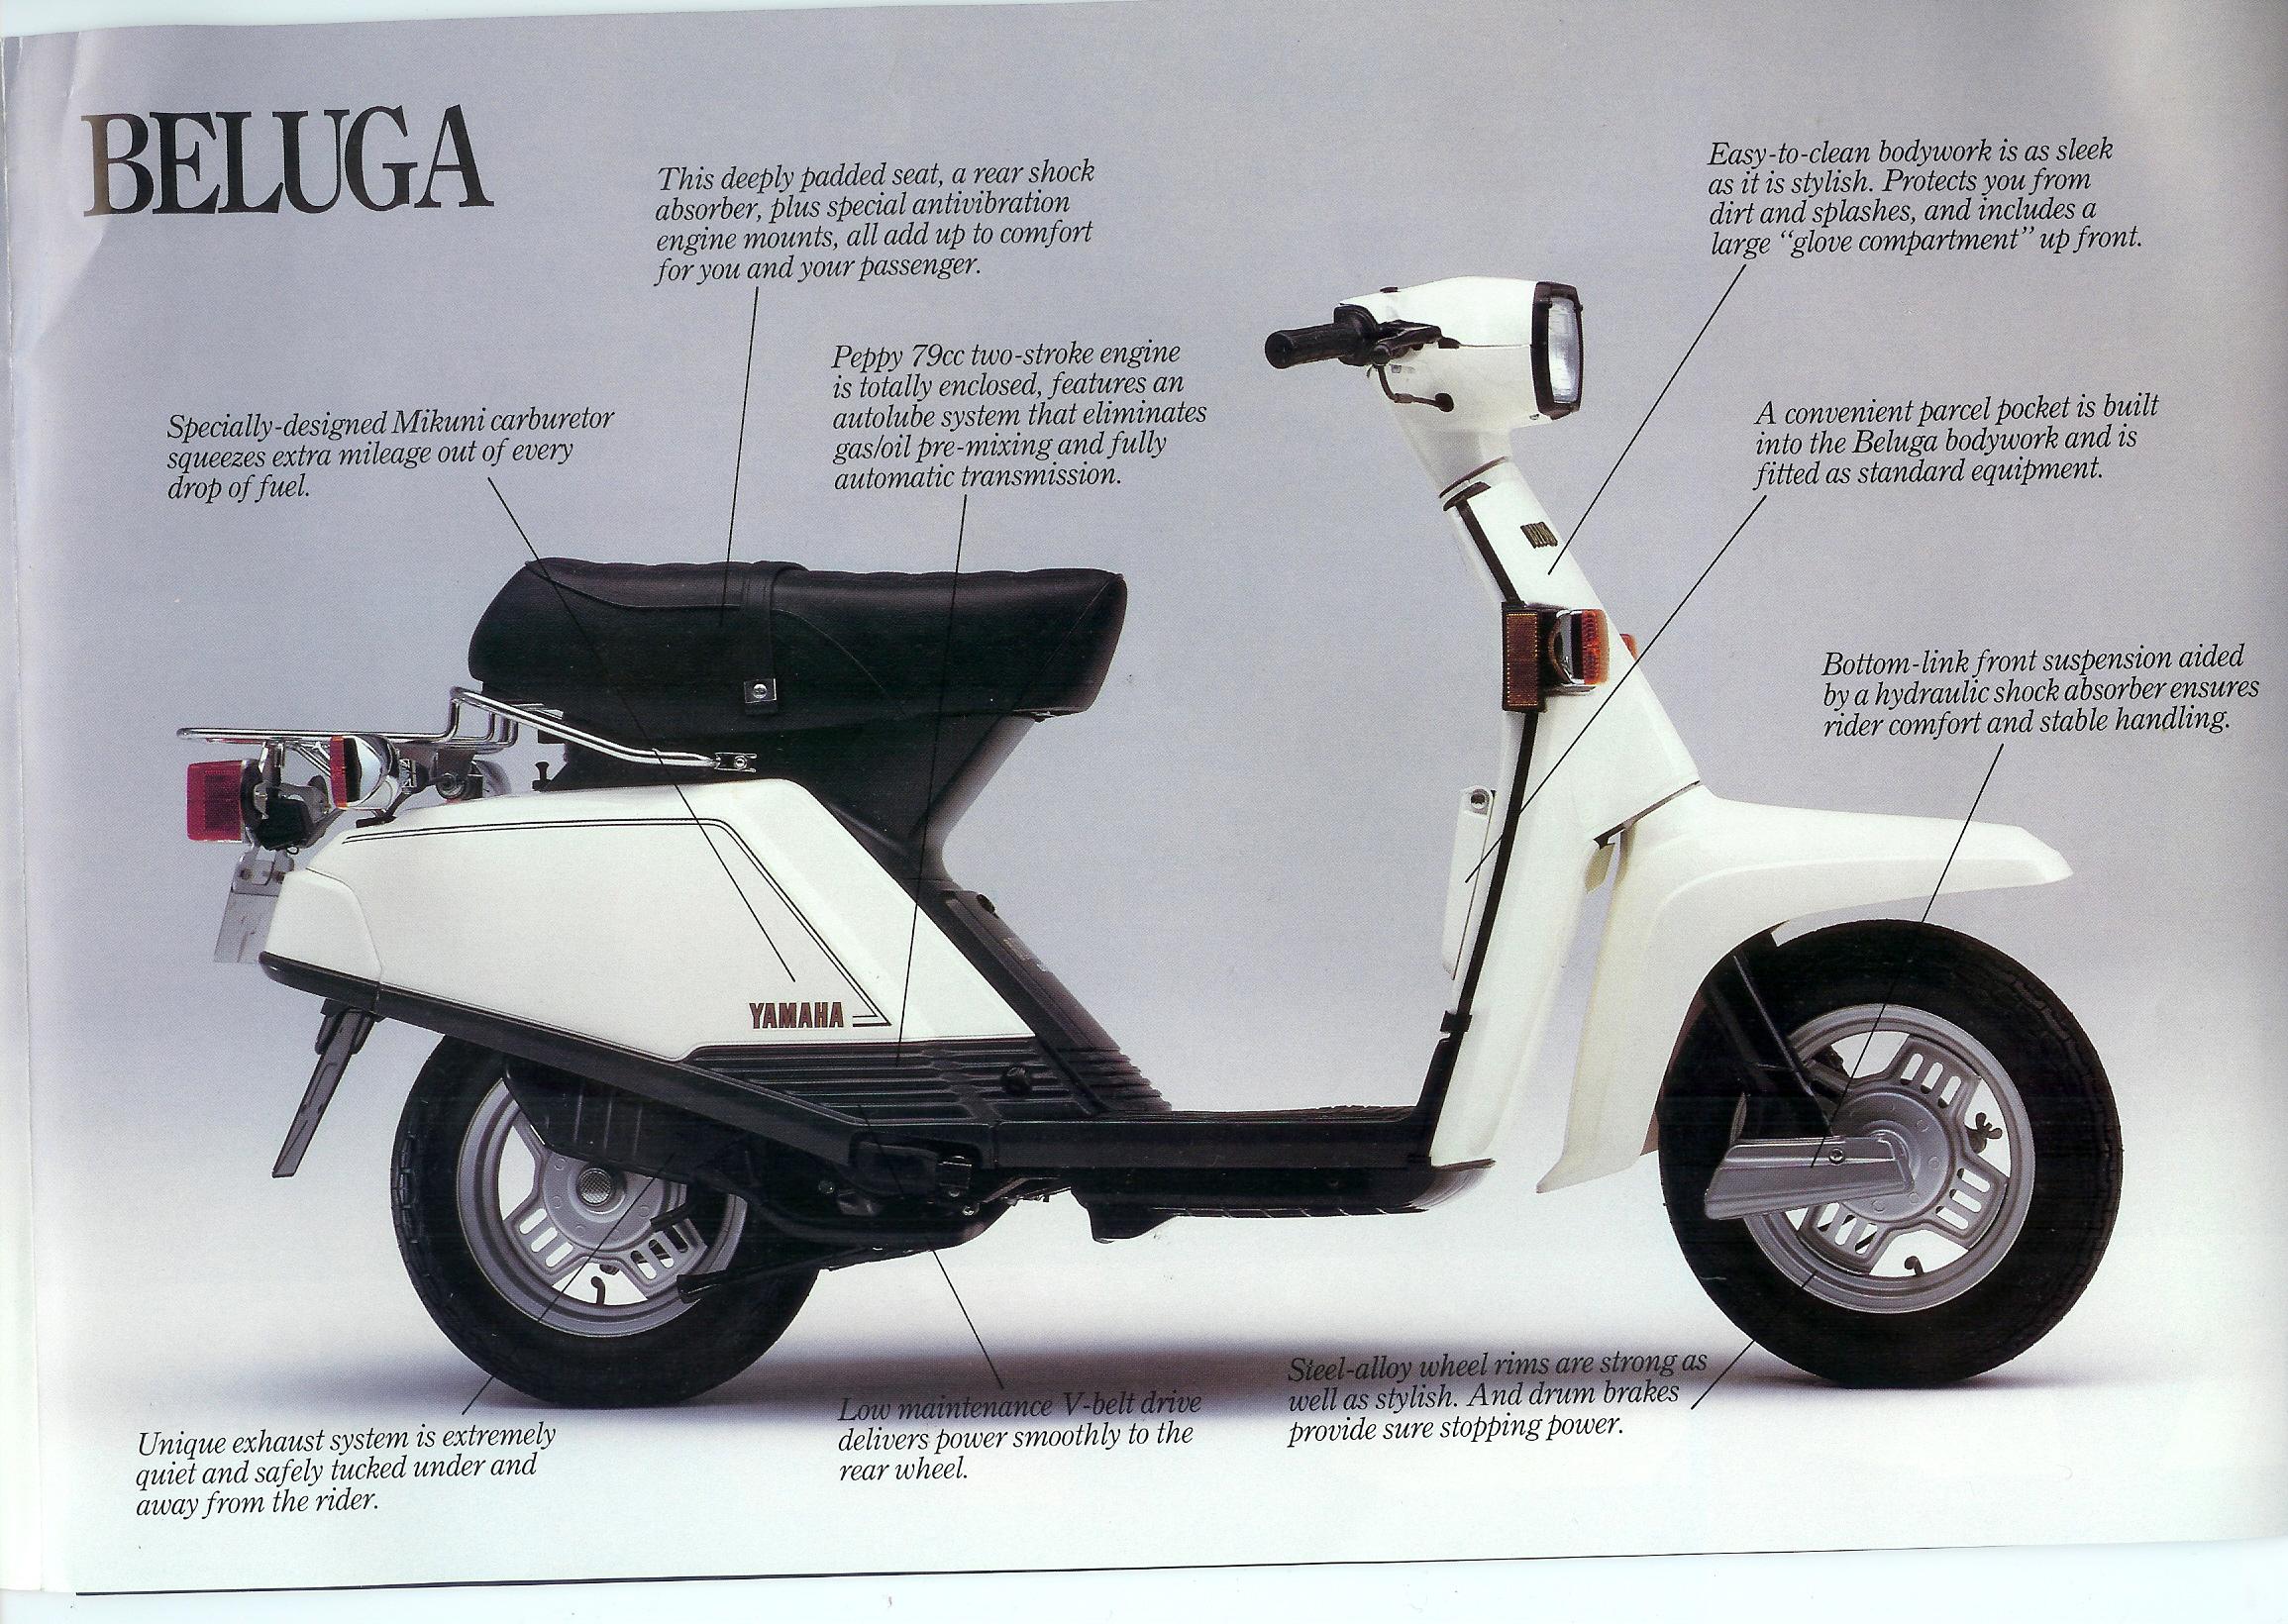
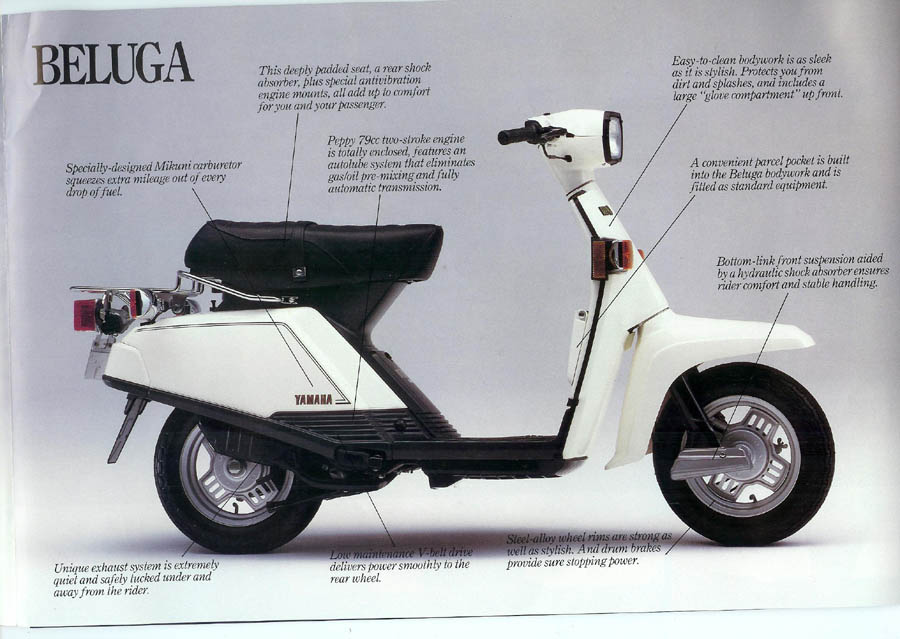
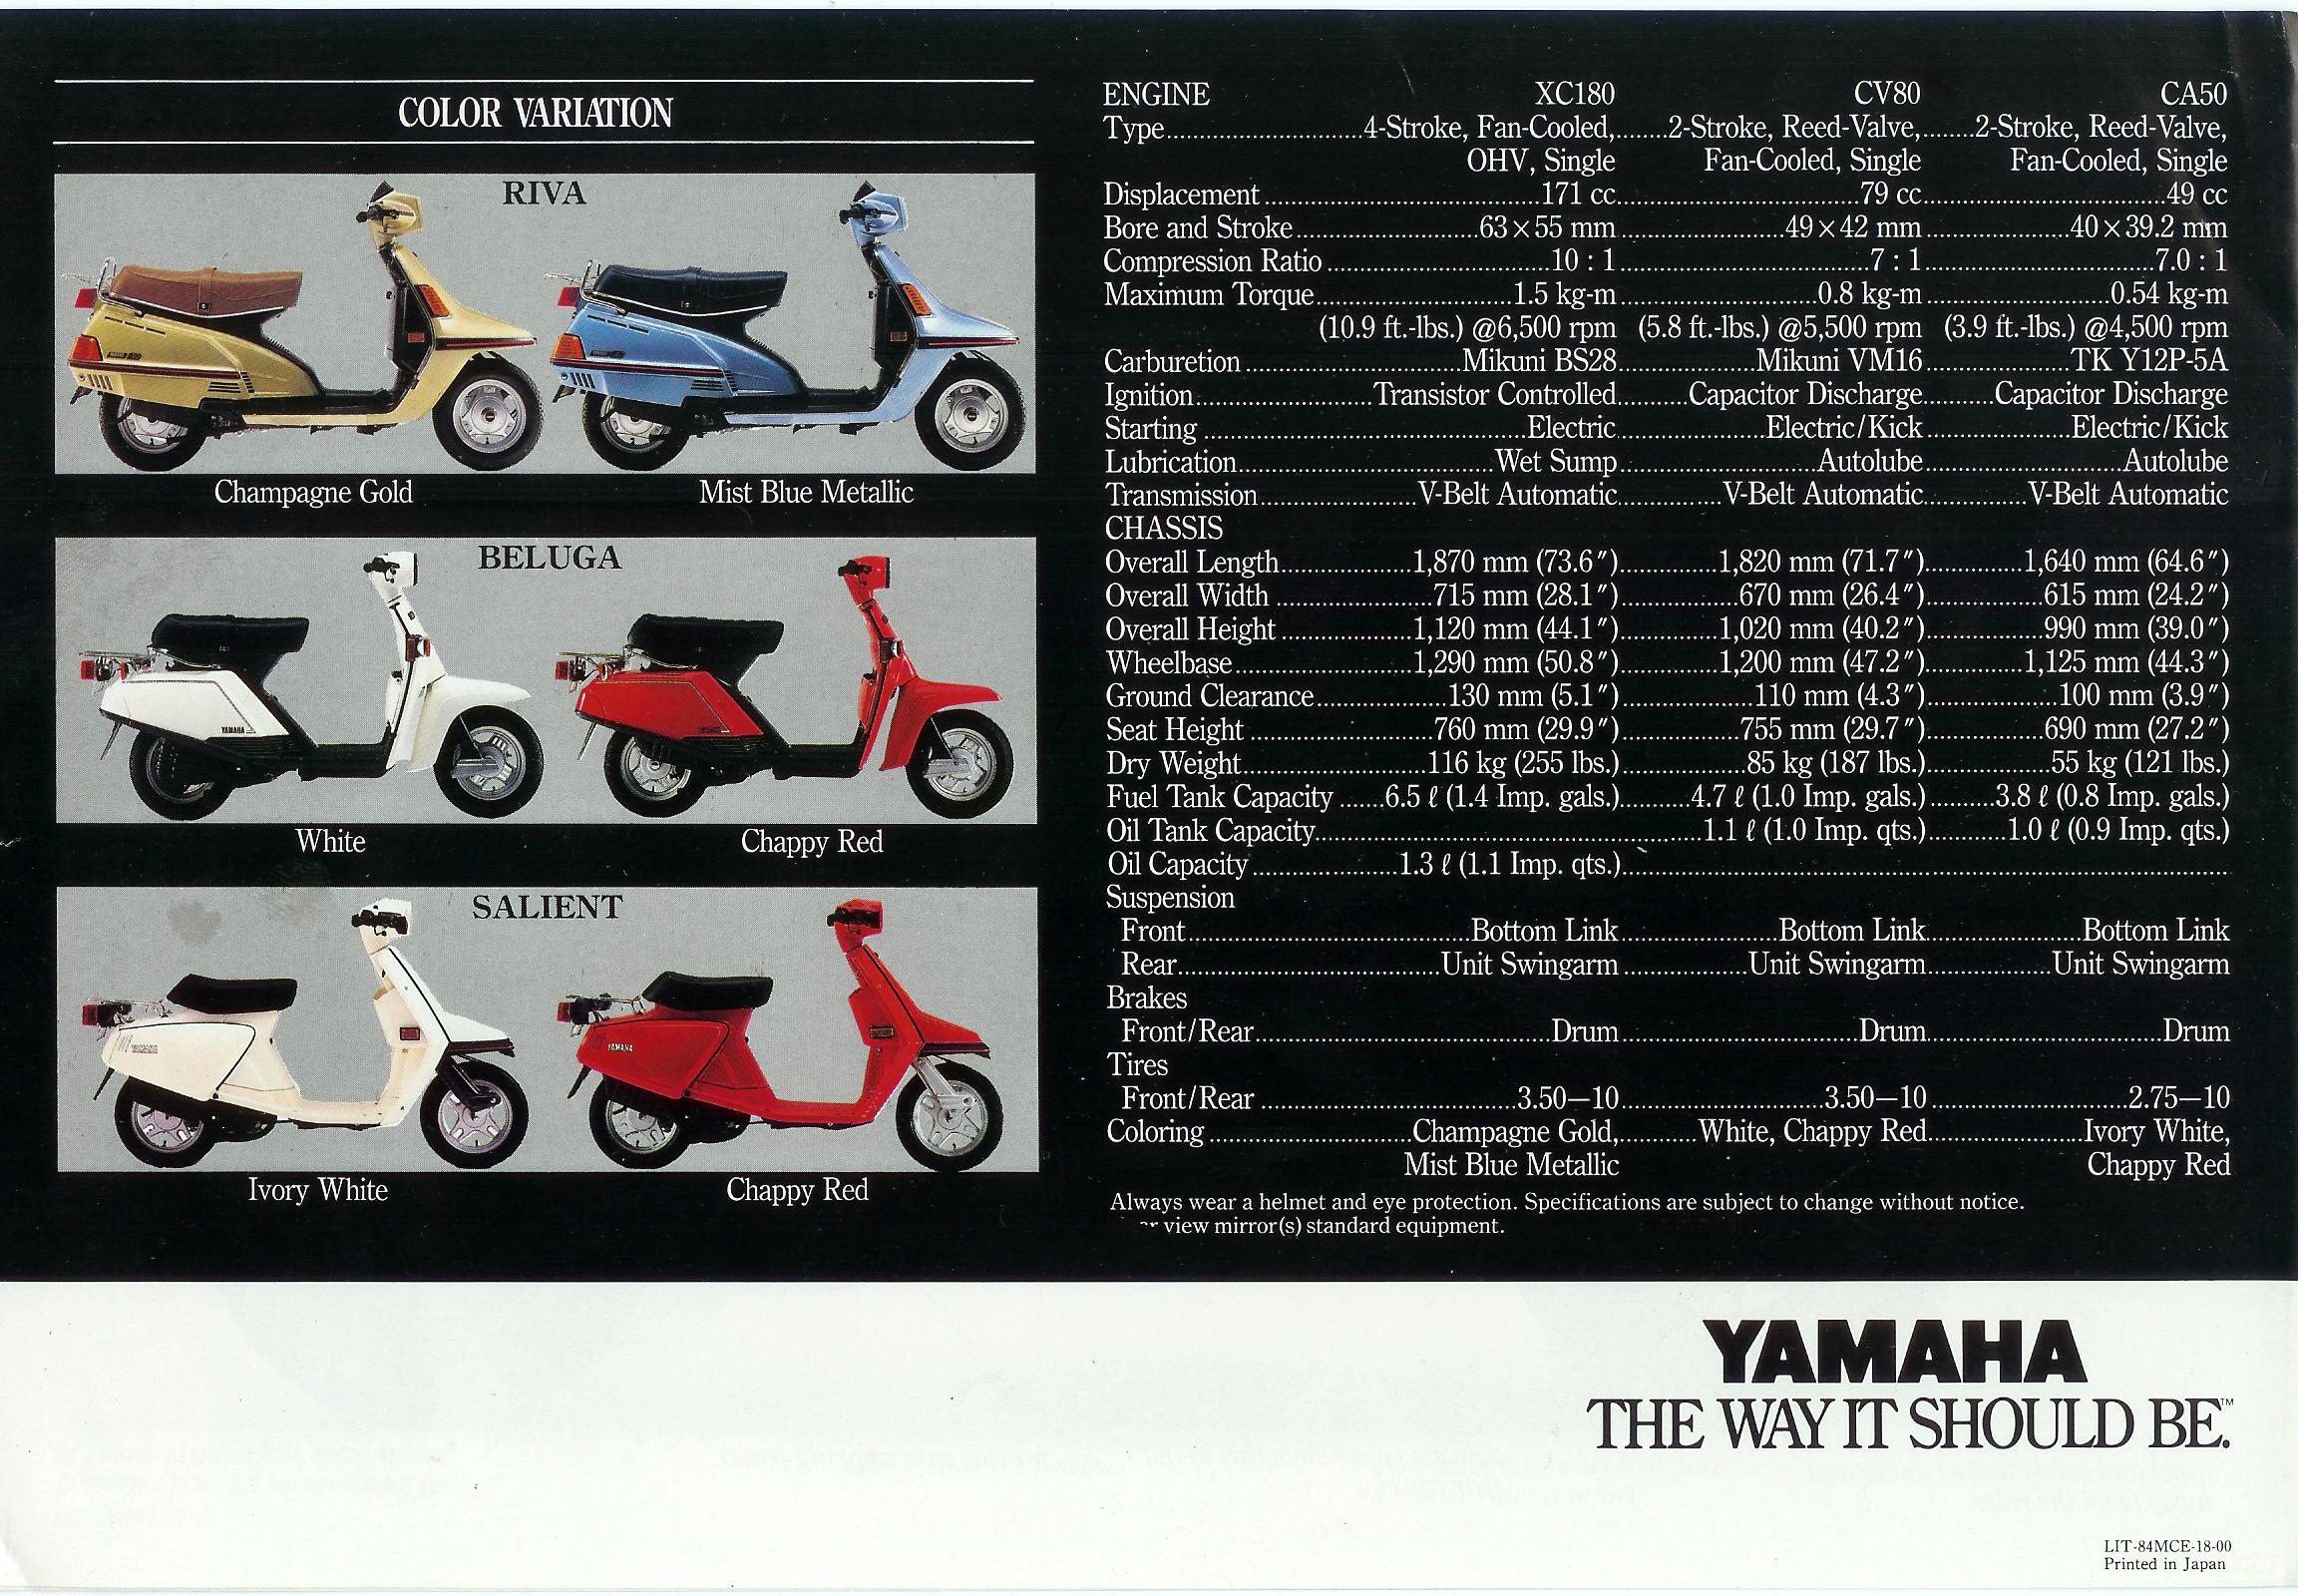
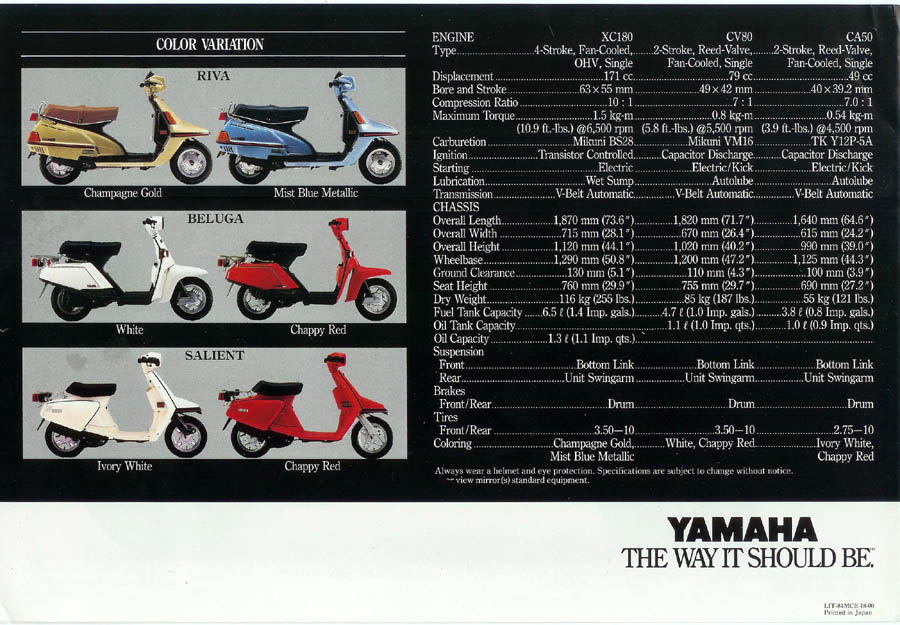
Check out these scans of the original Yamaha sales brochures| CA50 front | full size | small | CA50 back | full size | small |
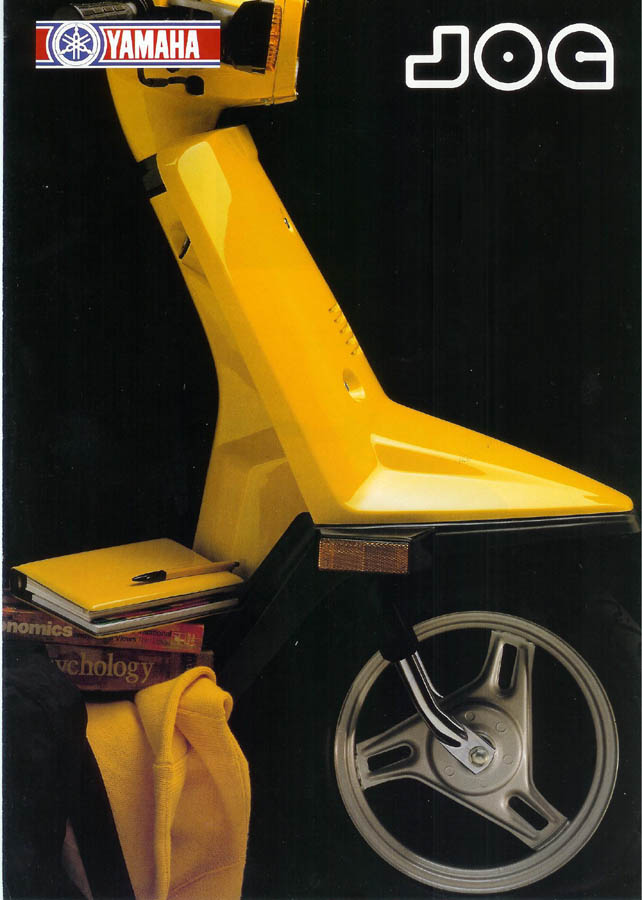
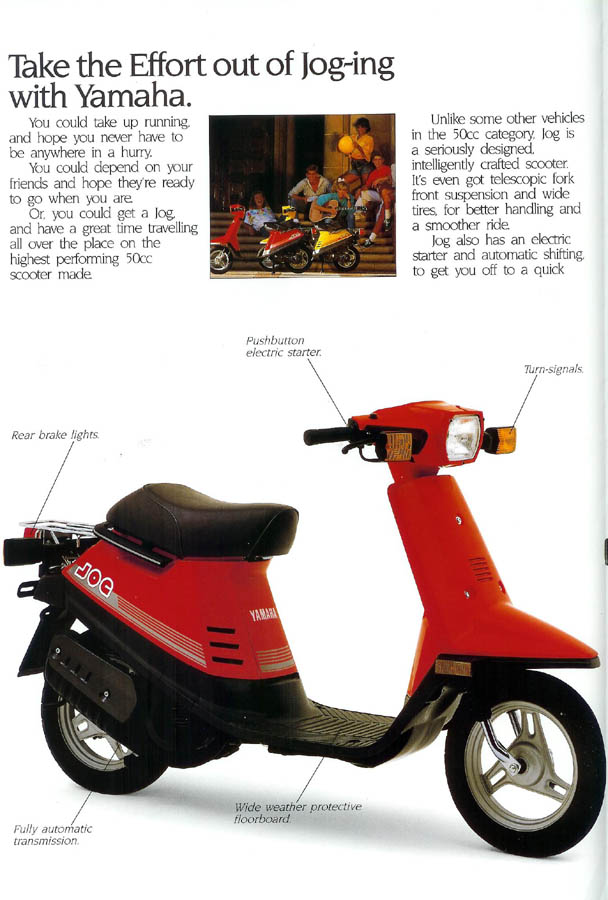
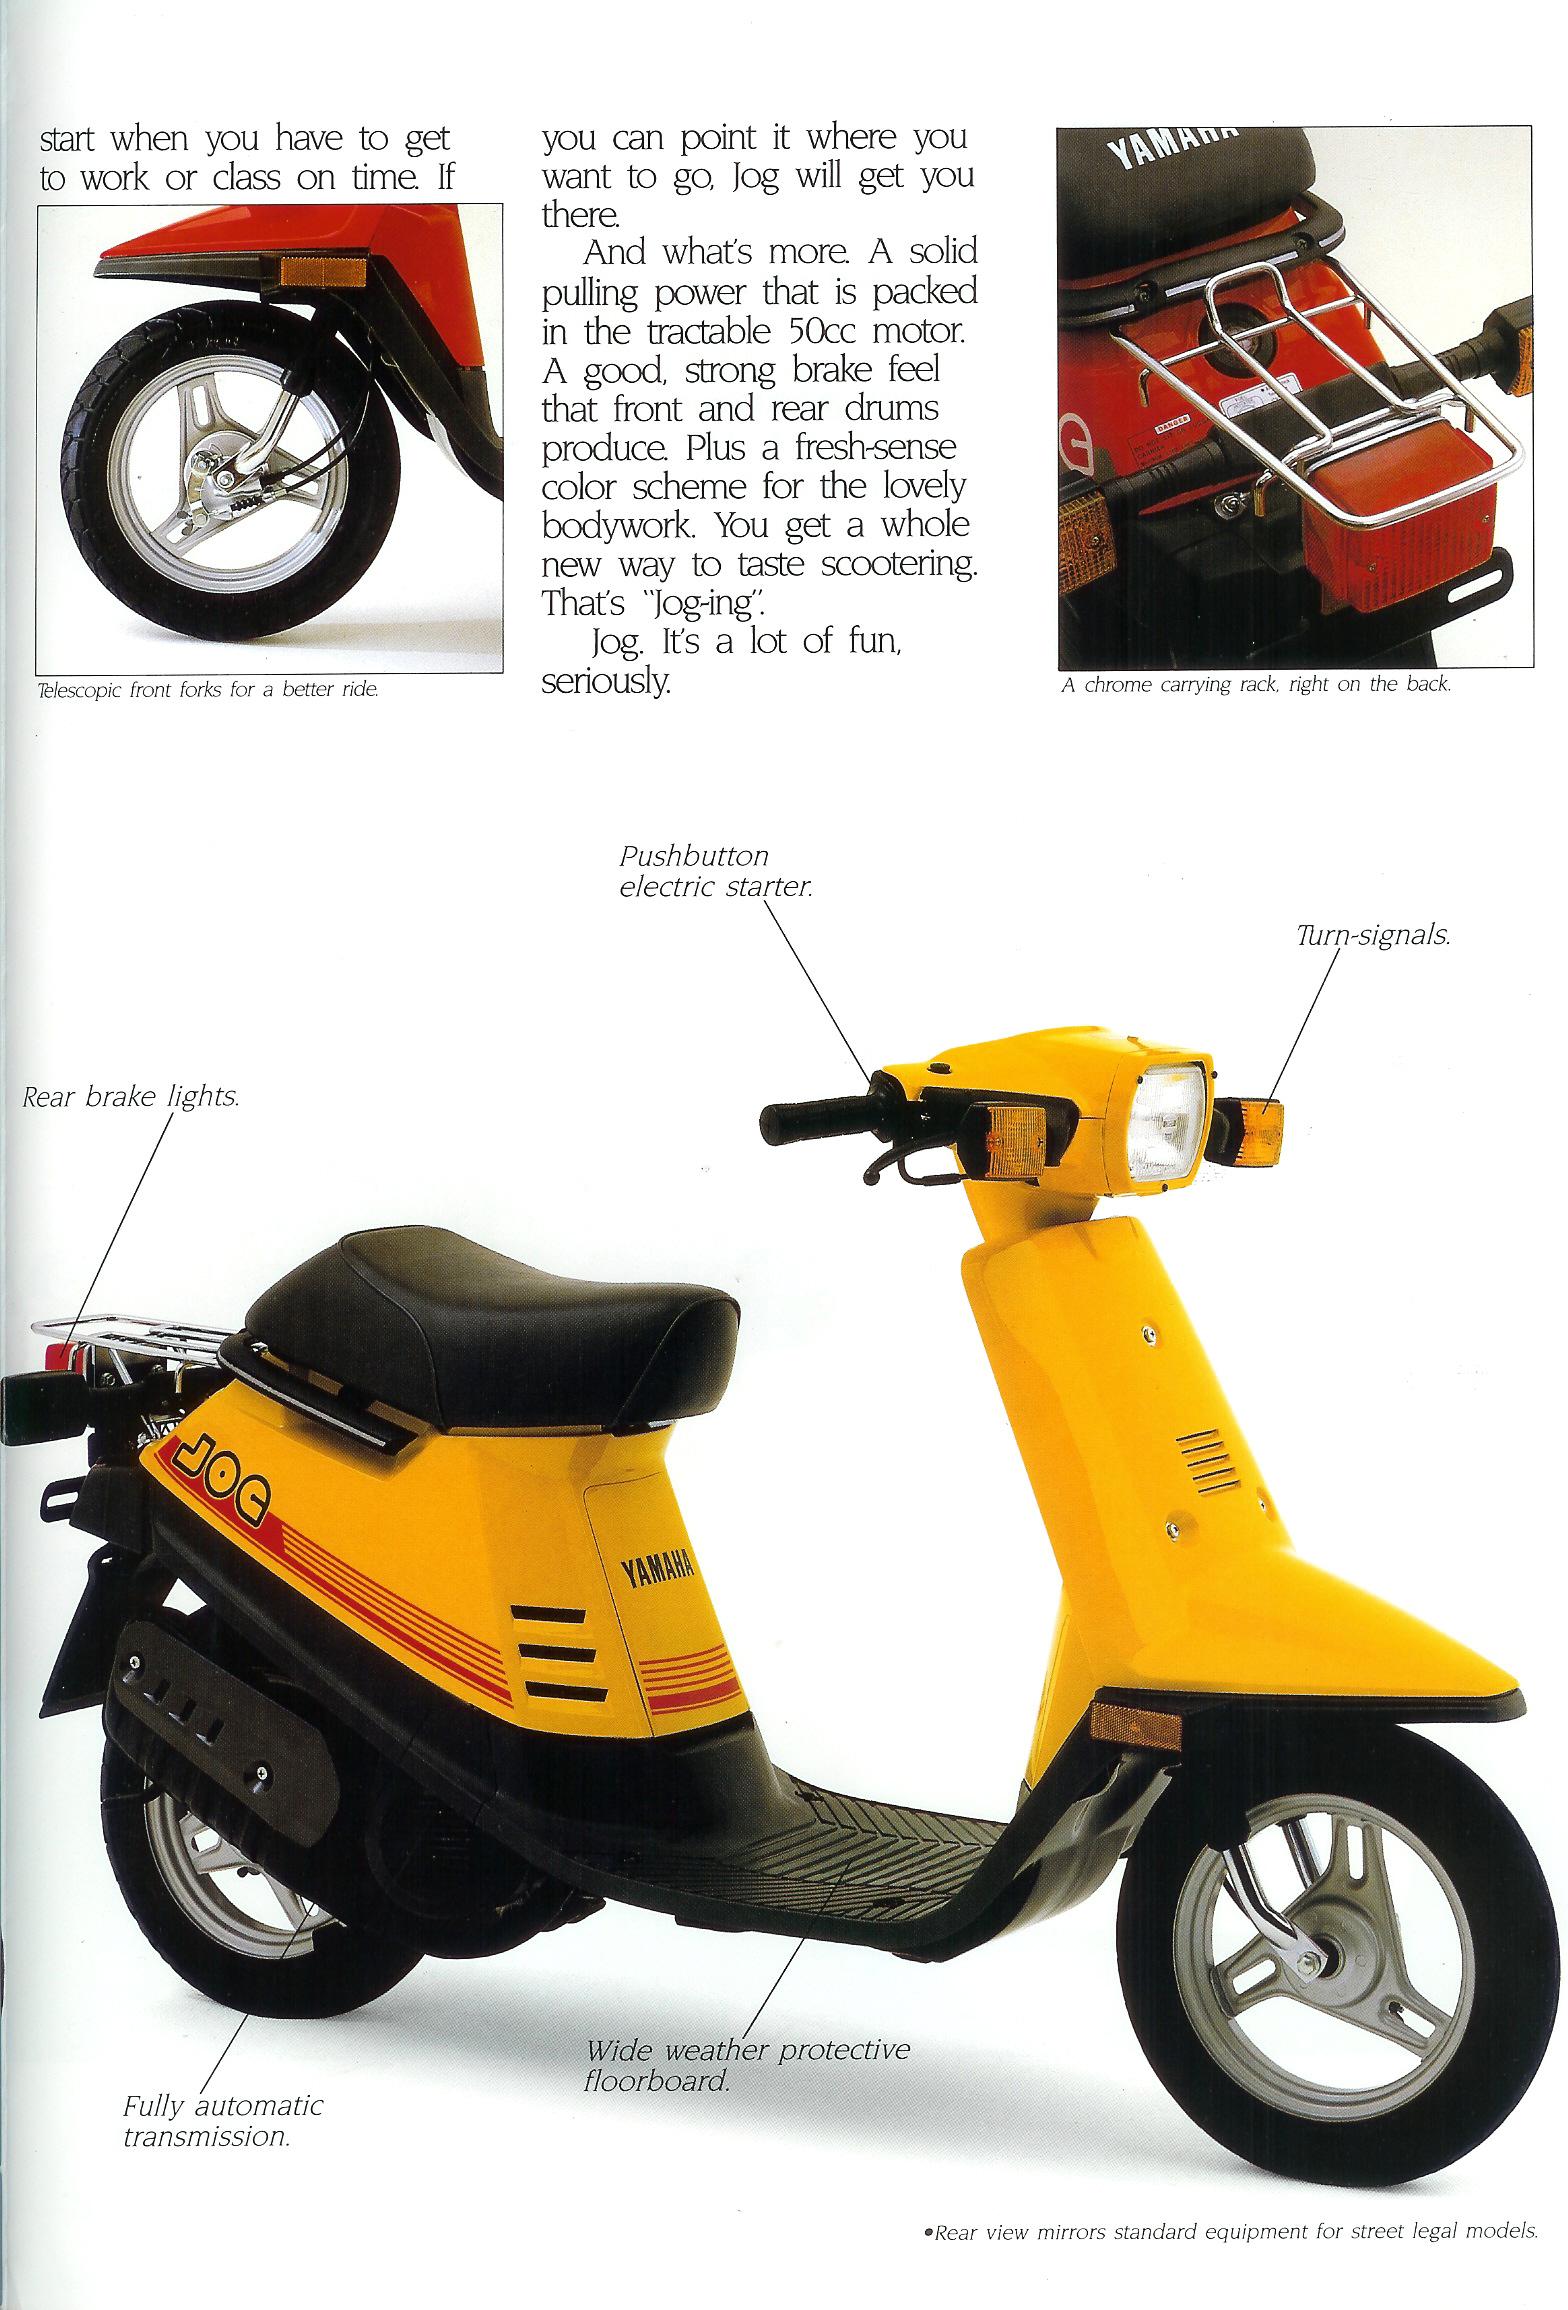
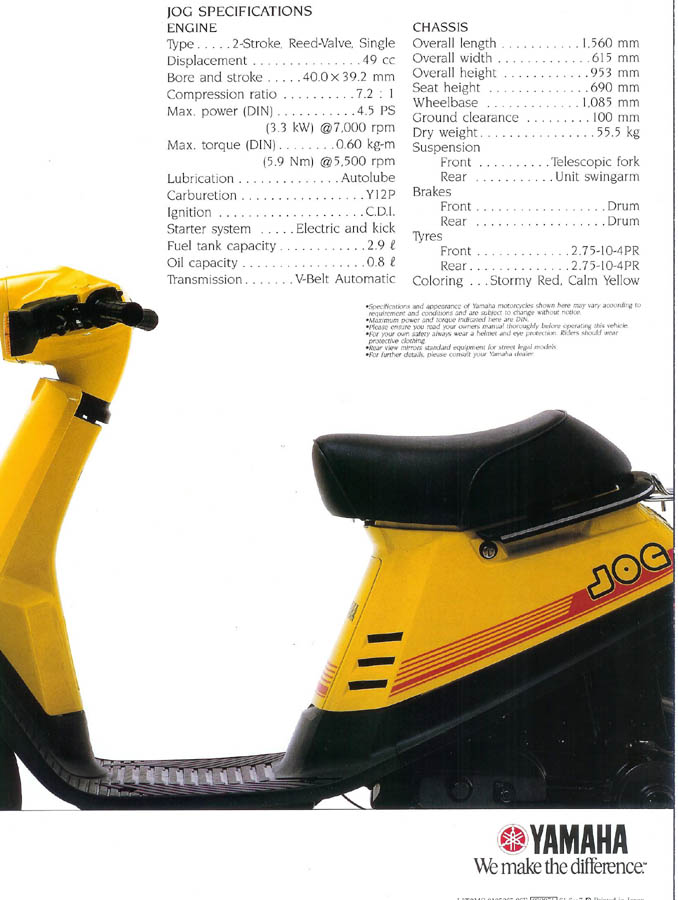
| Jog page 1 | full size | small | Jog page 2 | full size | small | Jog page 3 | full size | small | Jog page 4 | full size | small |
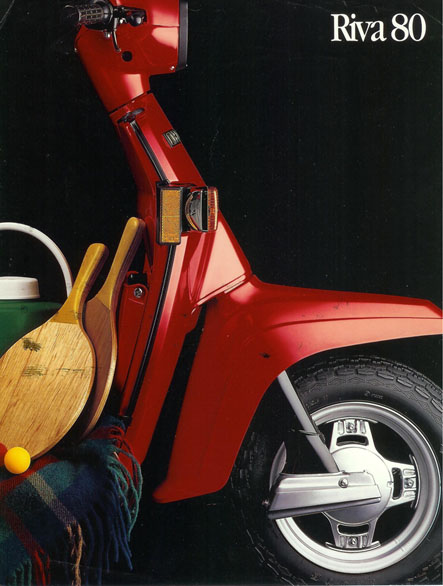
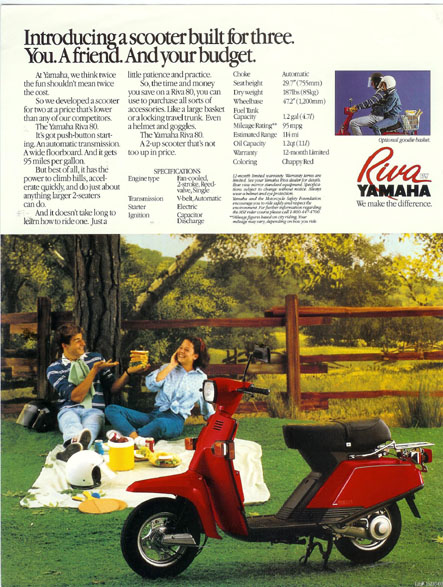
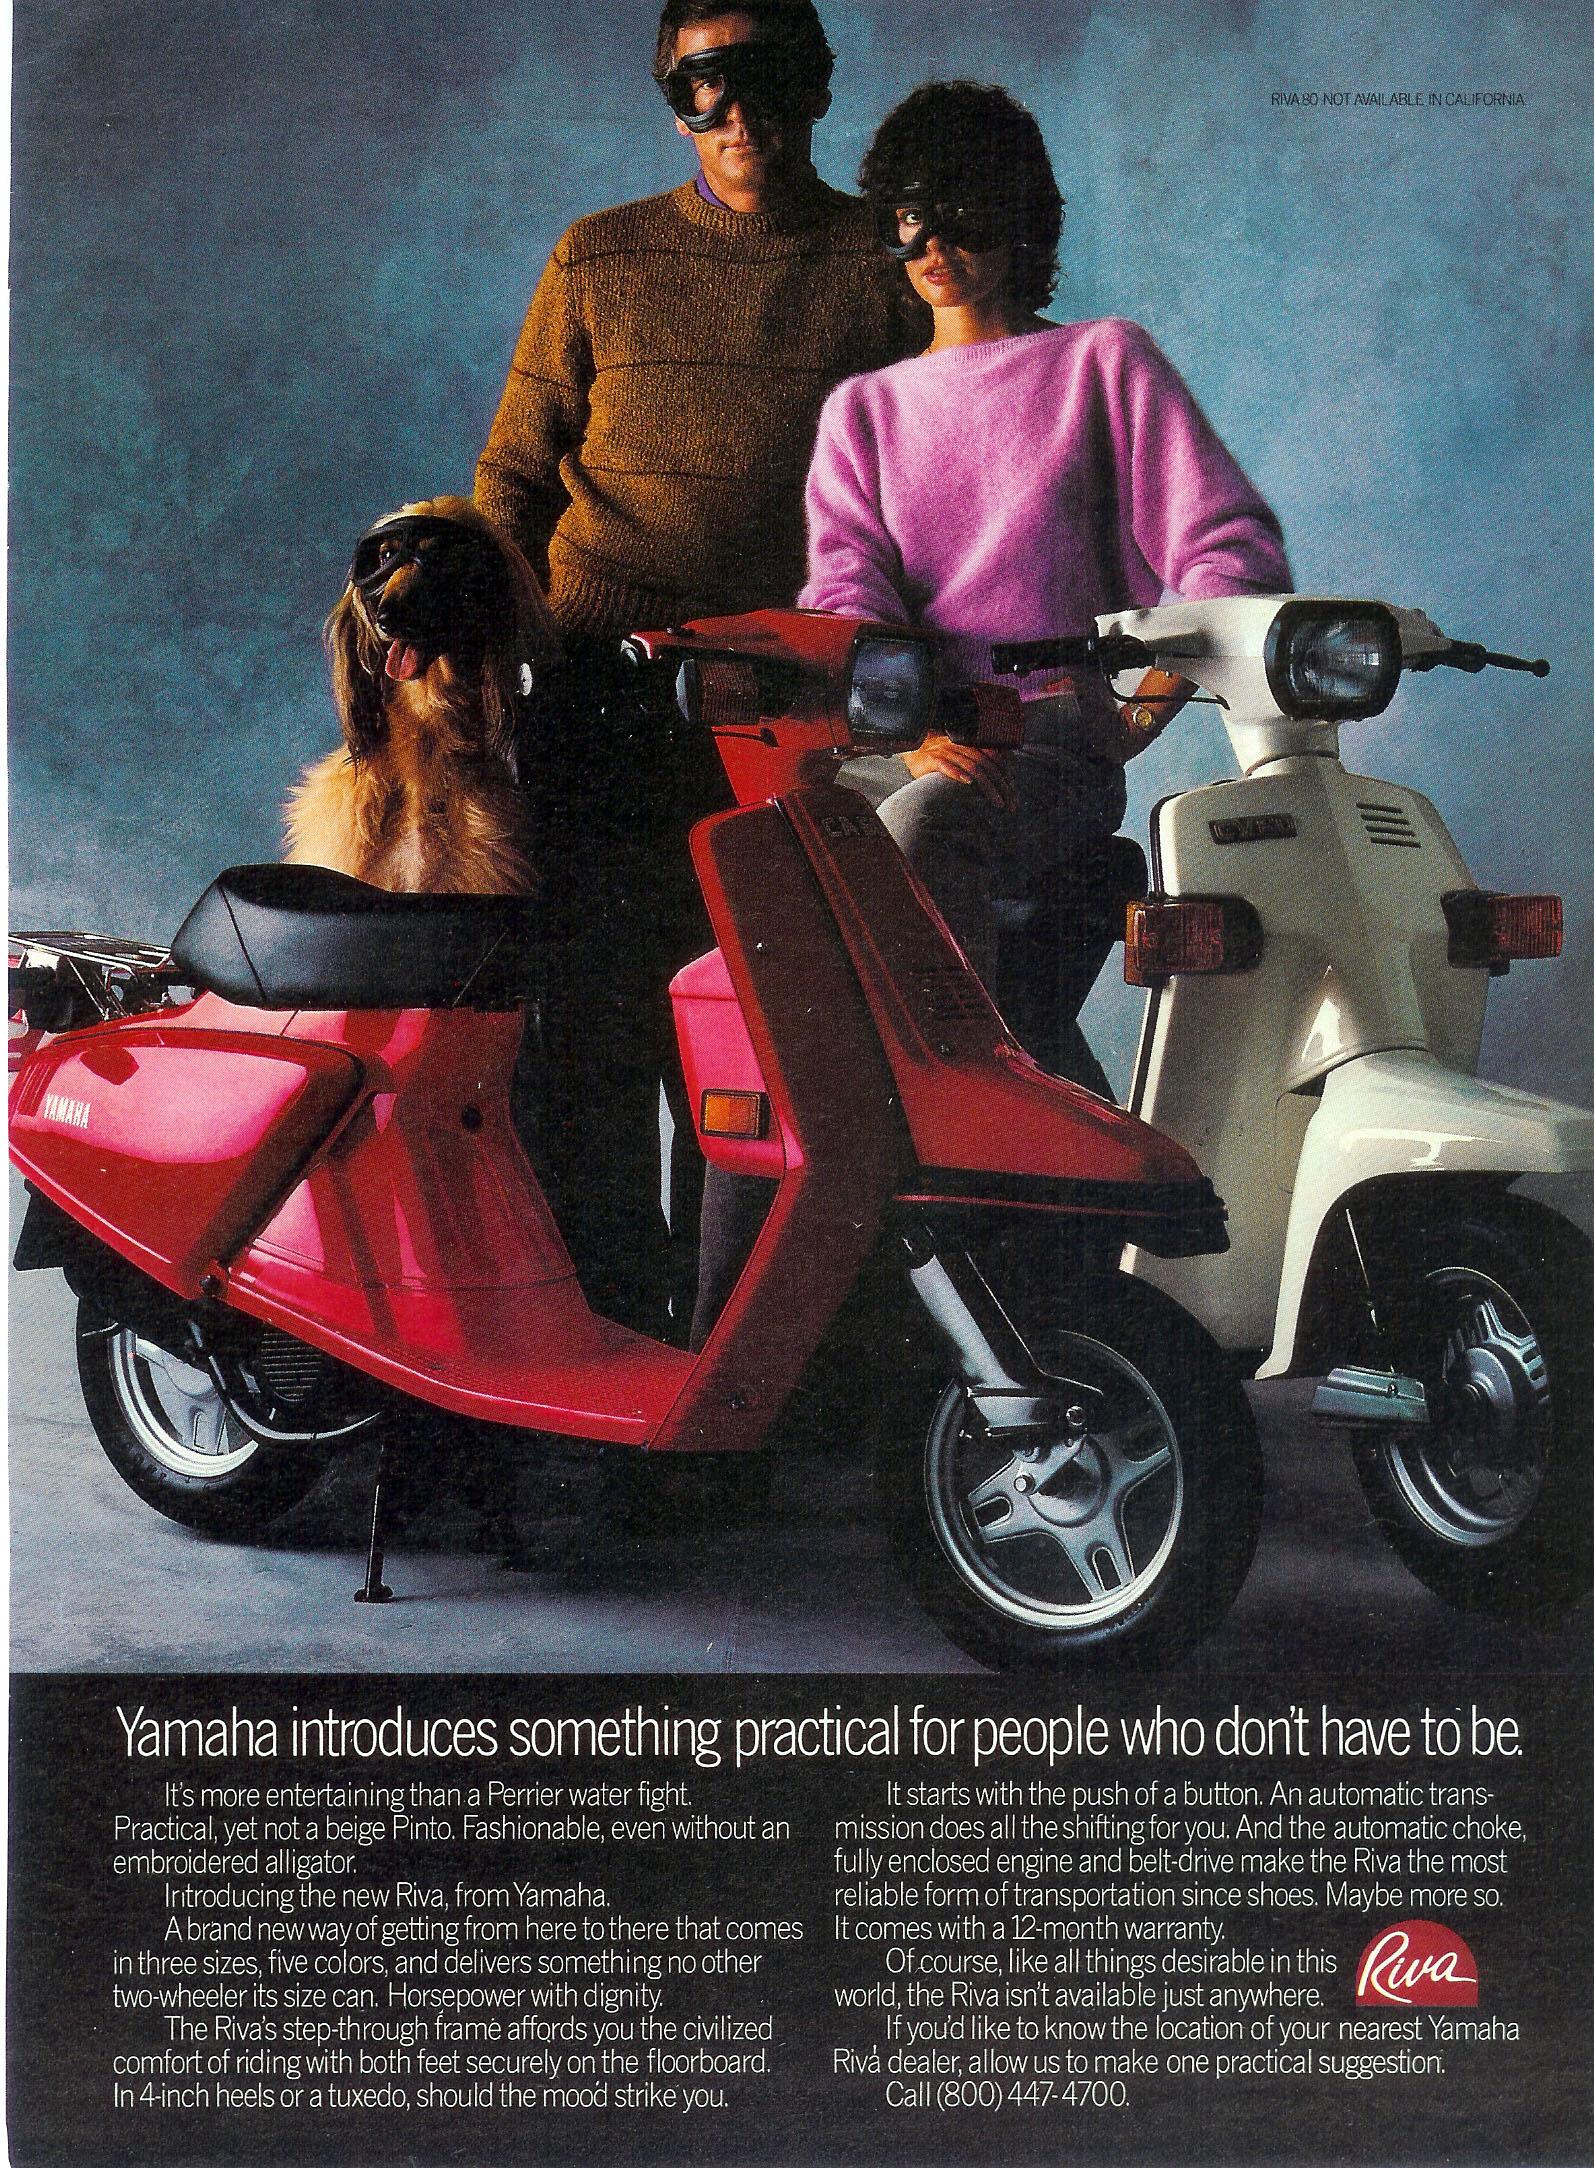
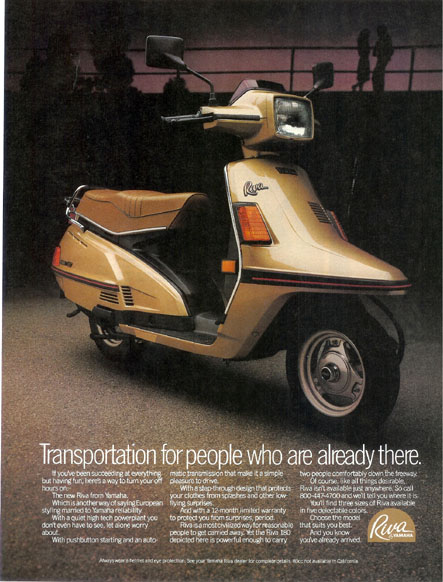
| Riva 80 front | full size | small | Riva 80 back | full size | small |
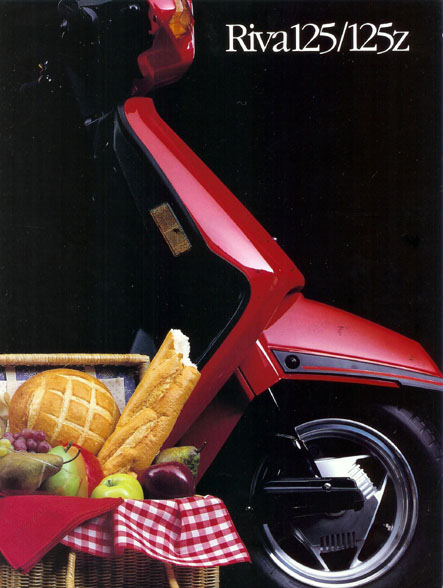
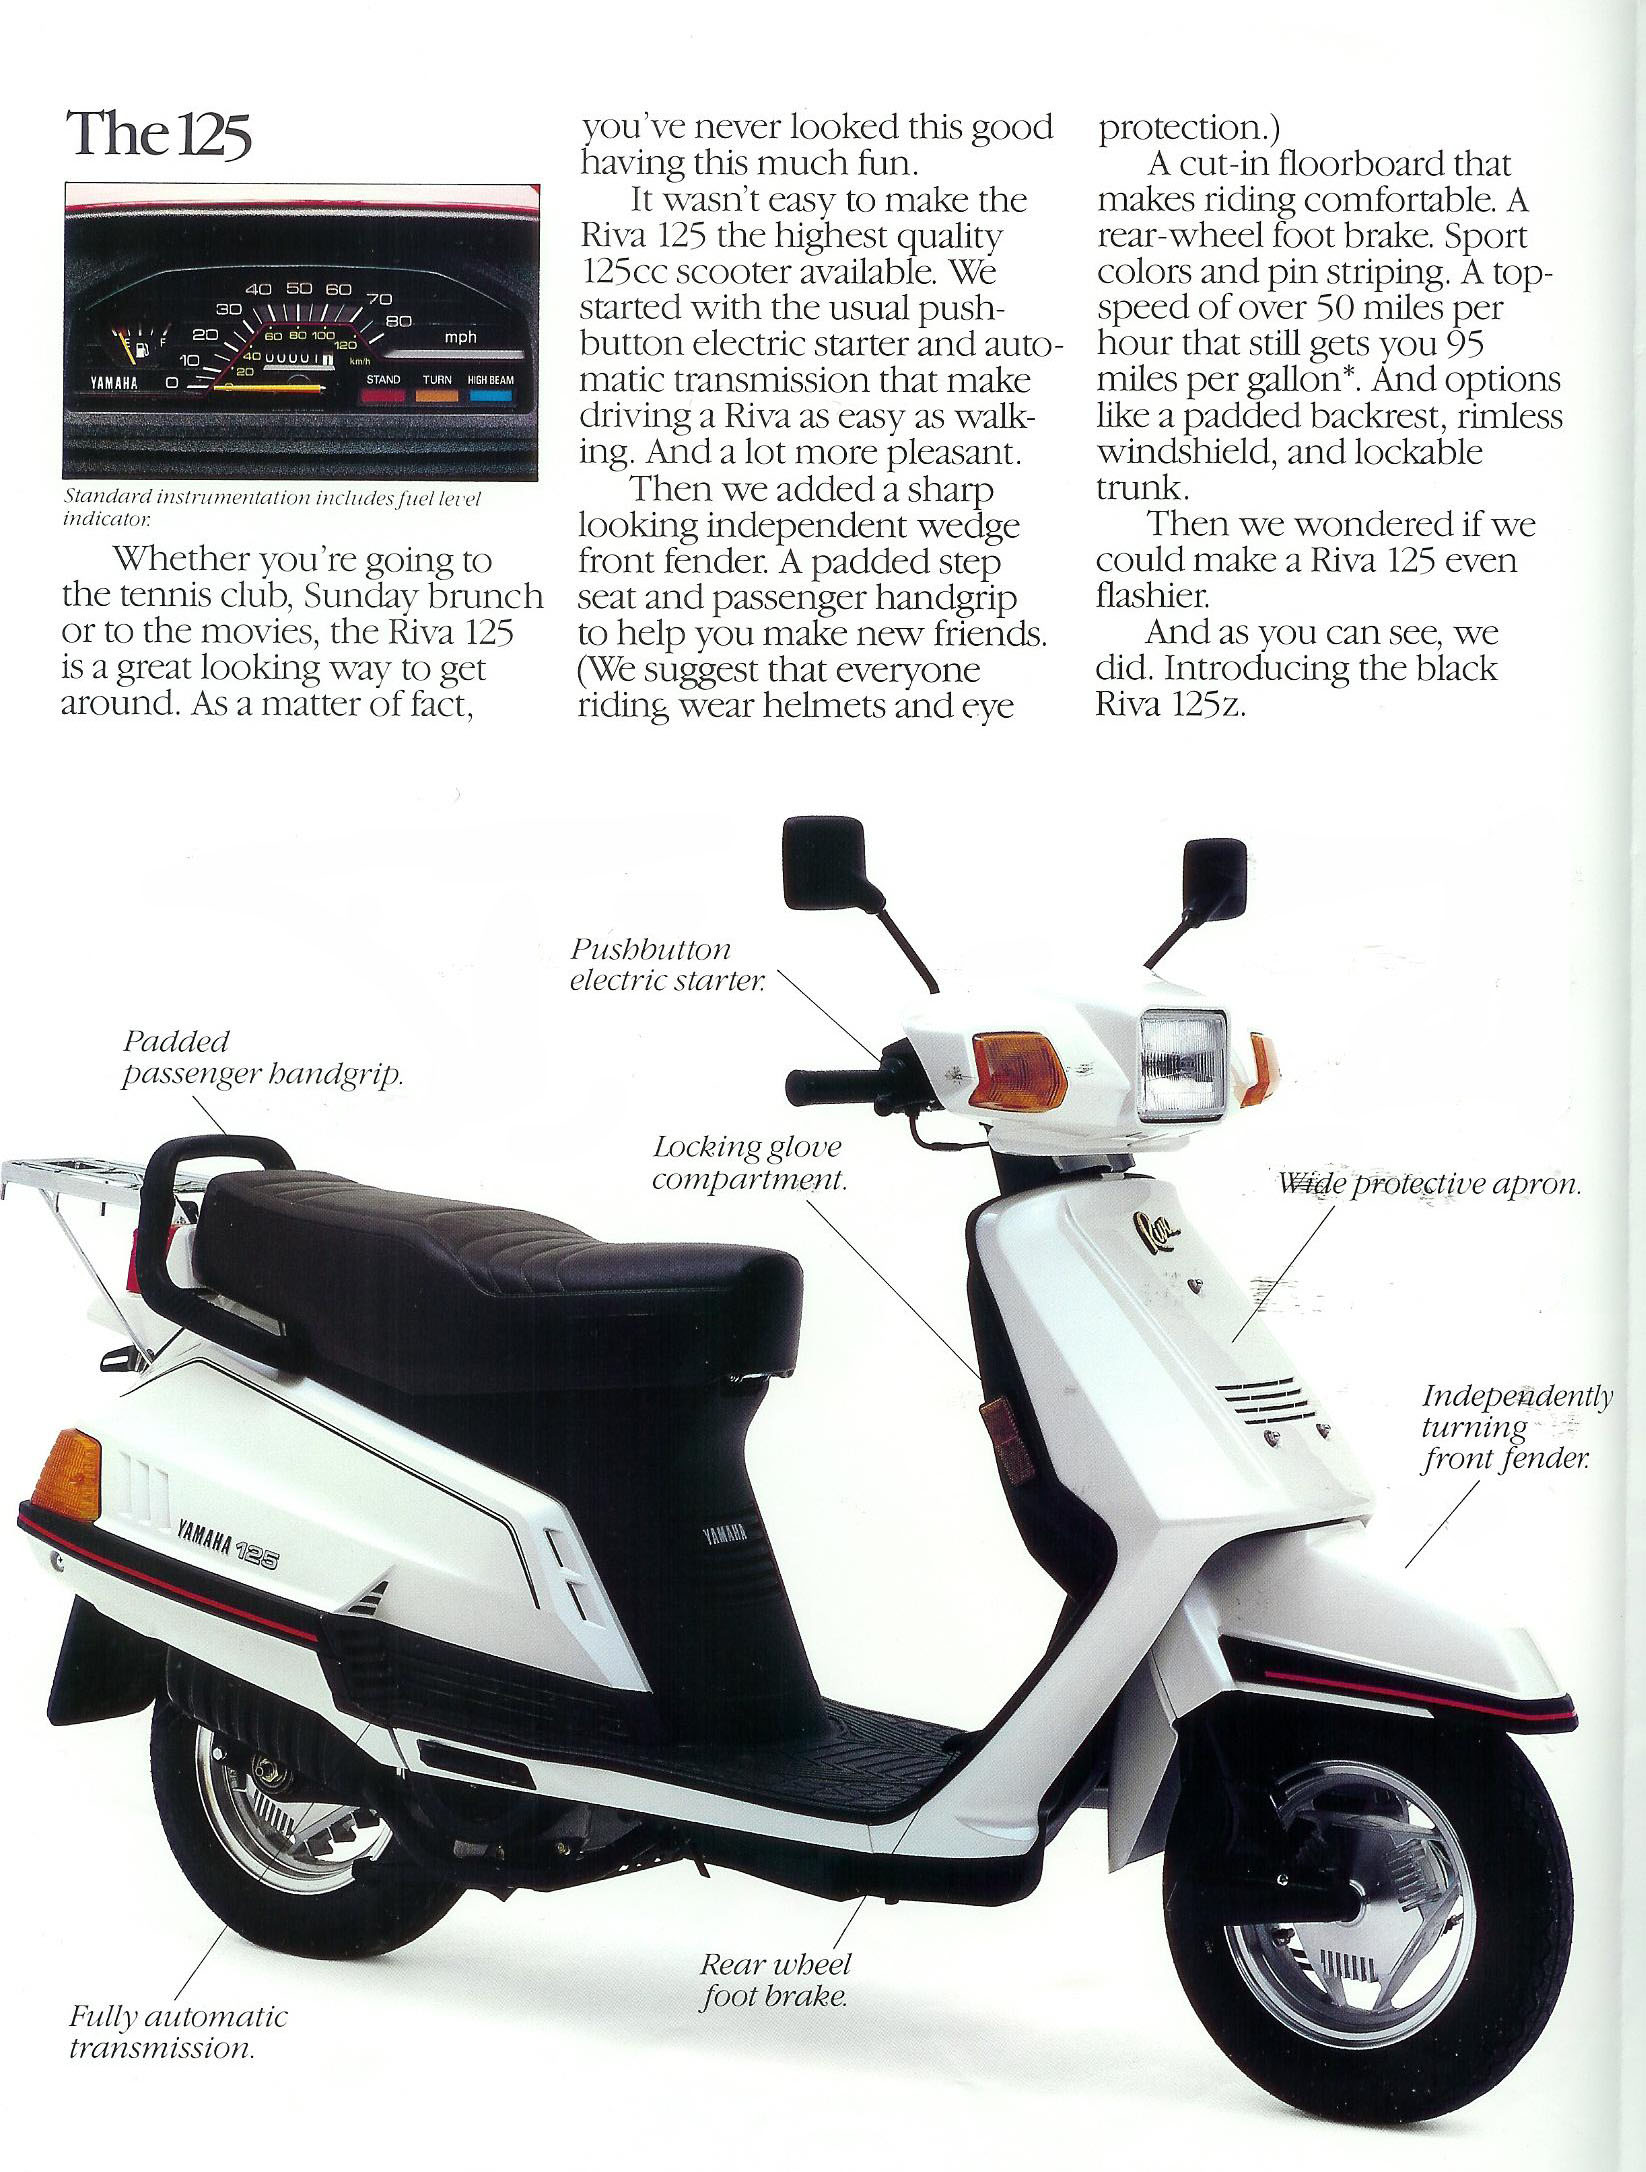
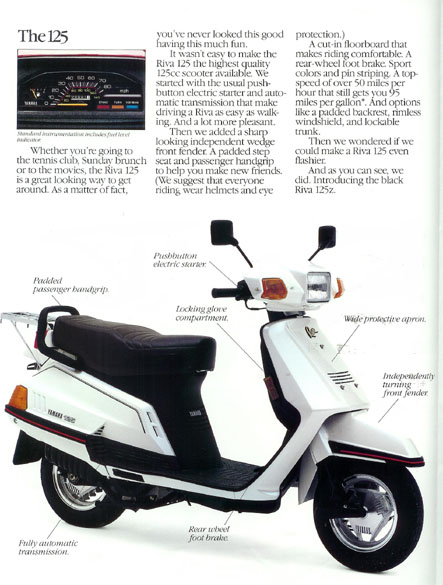
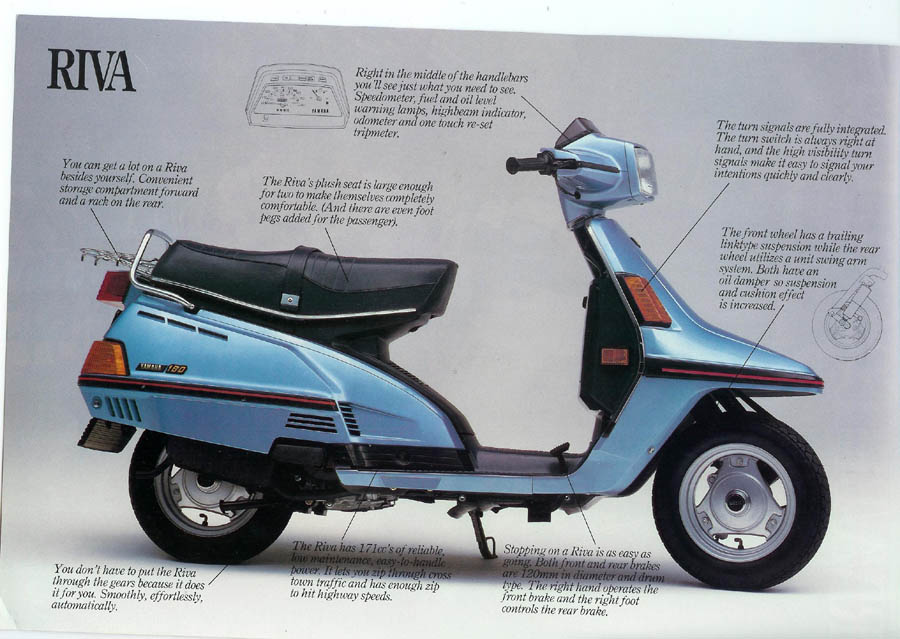
| Riva 125 front | full size | small | Riva 125 back | full size | small |
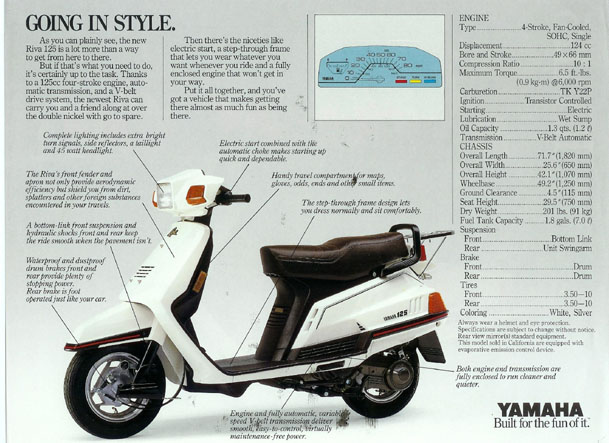
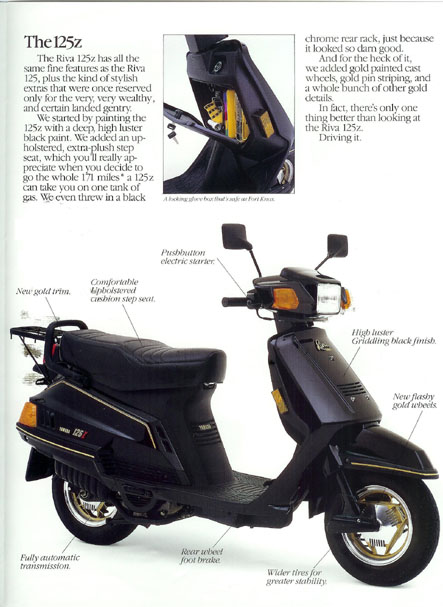
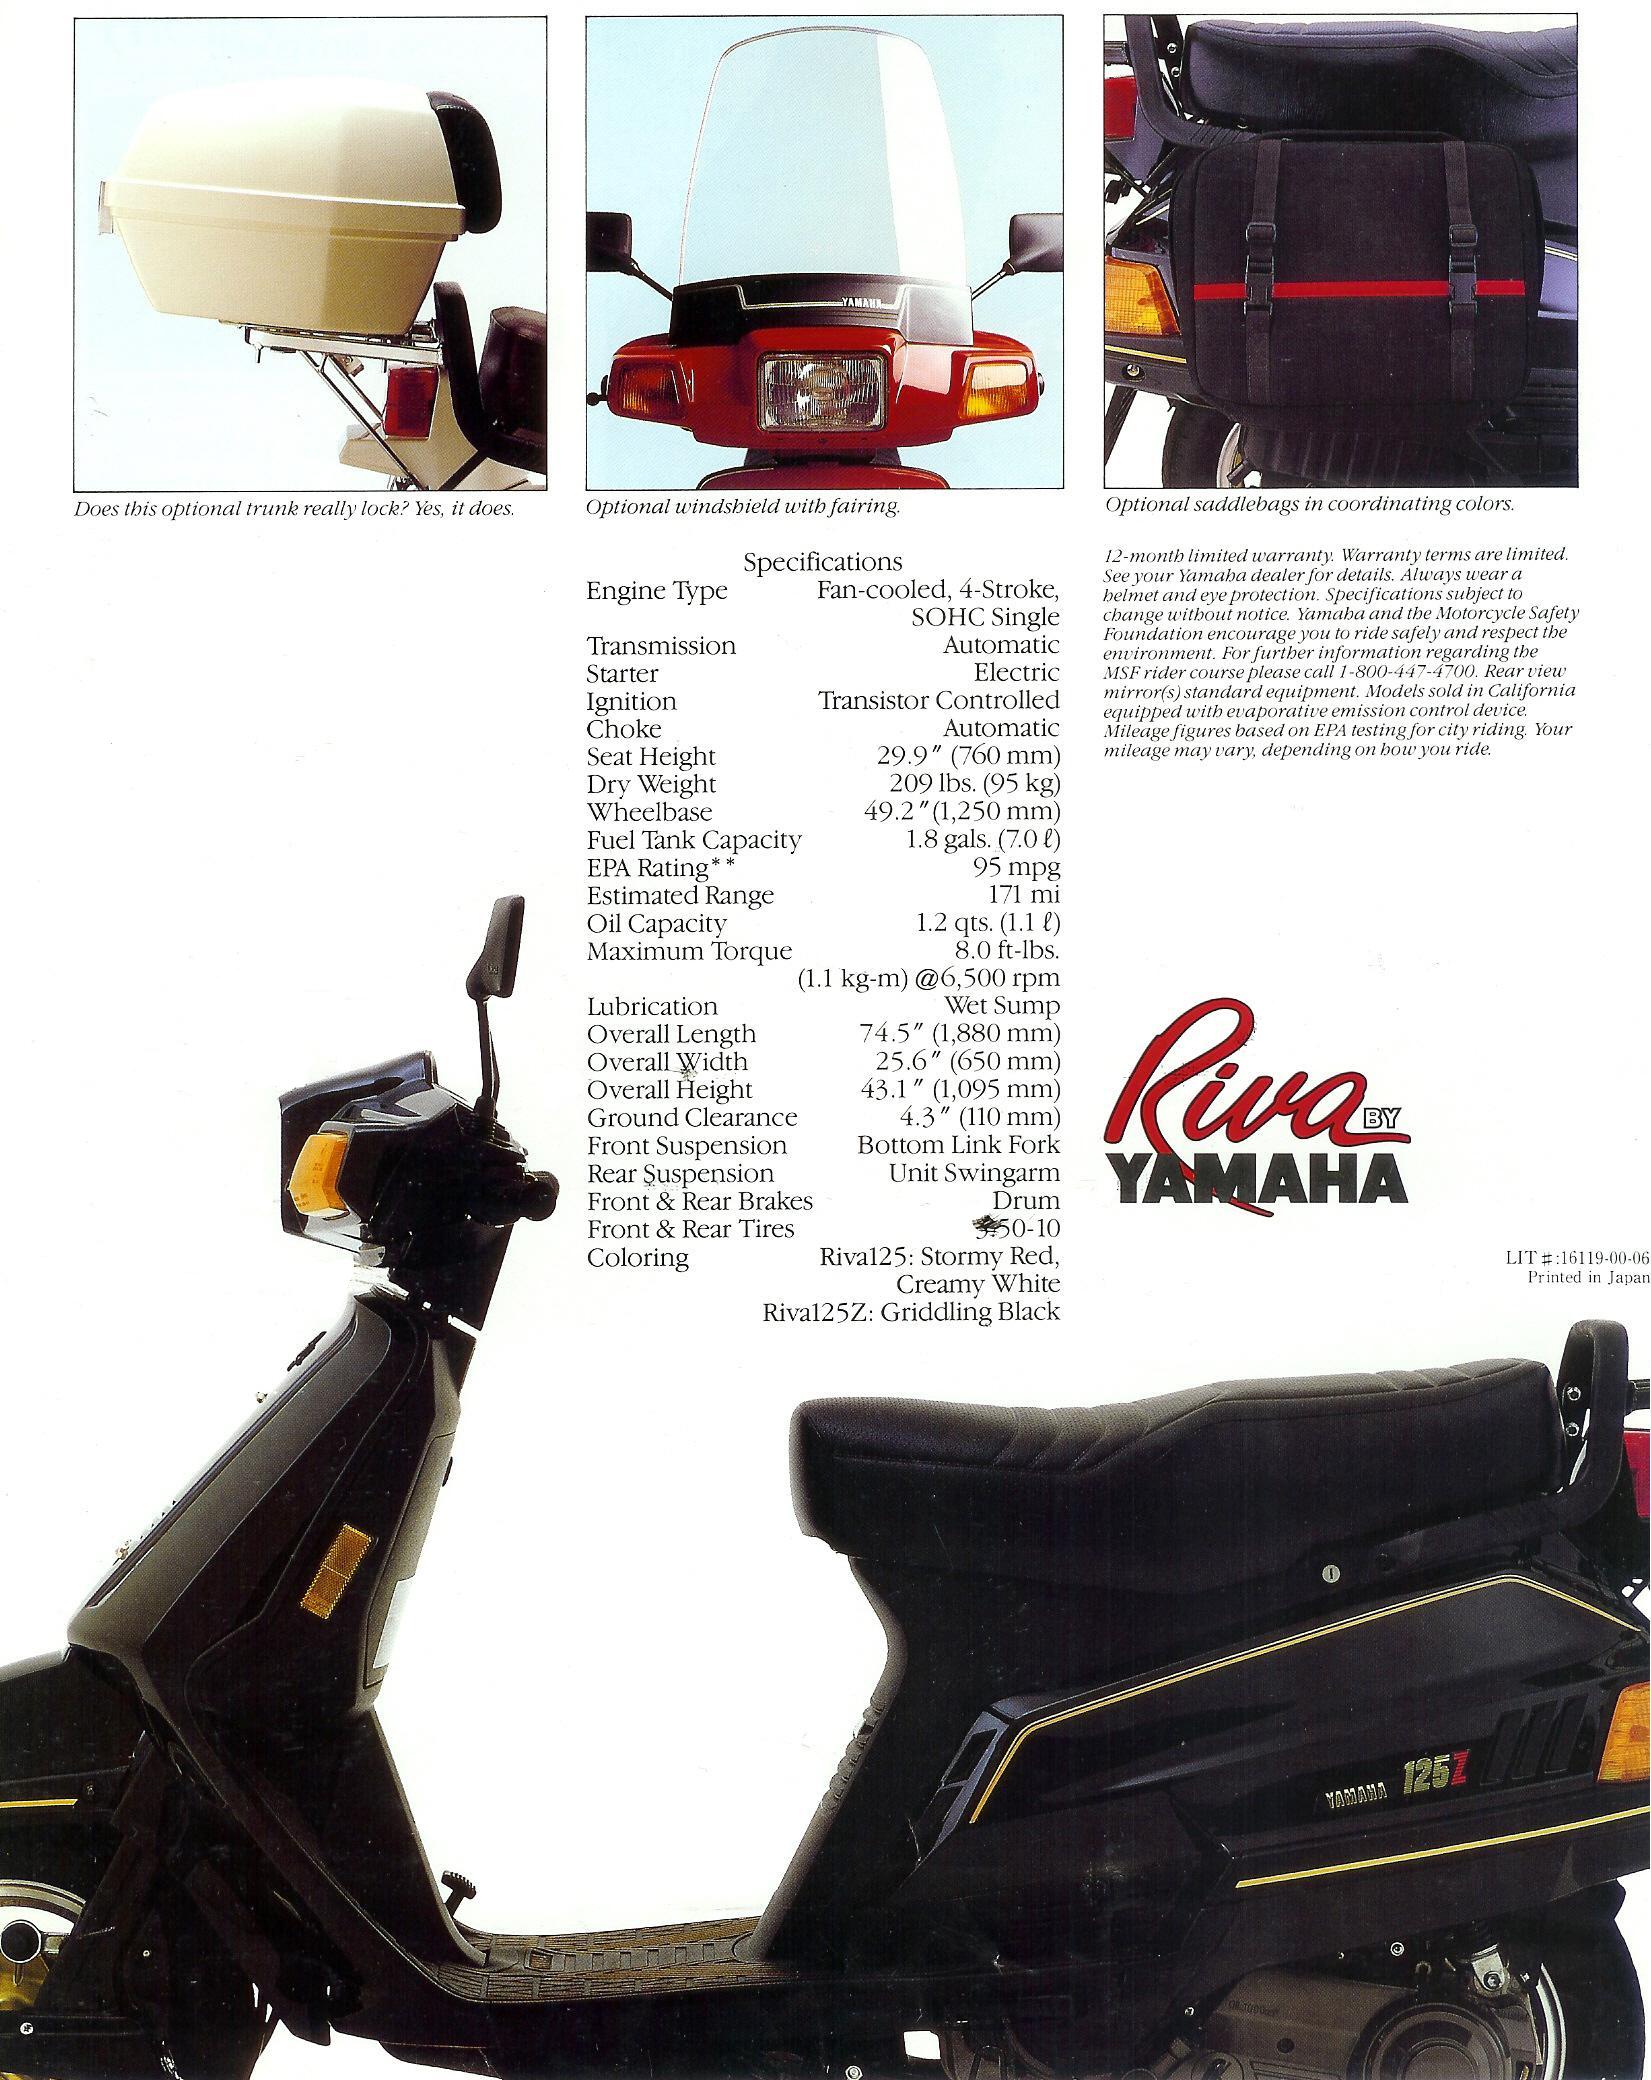
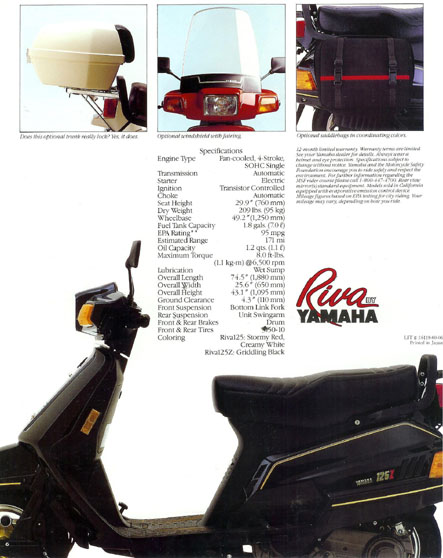
| Riva 125/125Z page 1 | full size | small | Riva 125/125Z page 2 | full size | small |
| Riva 125/125Z page 3 | full size | small | Riva 125/125Z page 4 | full size | small |
| Rivas in Europe page 1 | full size | small | Rivas in Europe page 2 | full size | small |
| Rivas in Europe page 3 | full size | small | Rivas in Europe page 4 | full size | small |
| Rivas in Europe page 5 | full size | small | Rivas in Europe page 6 | full size | small |
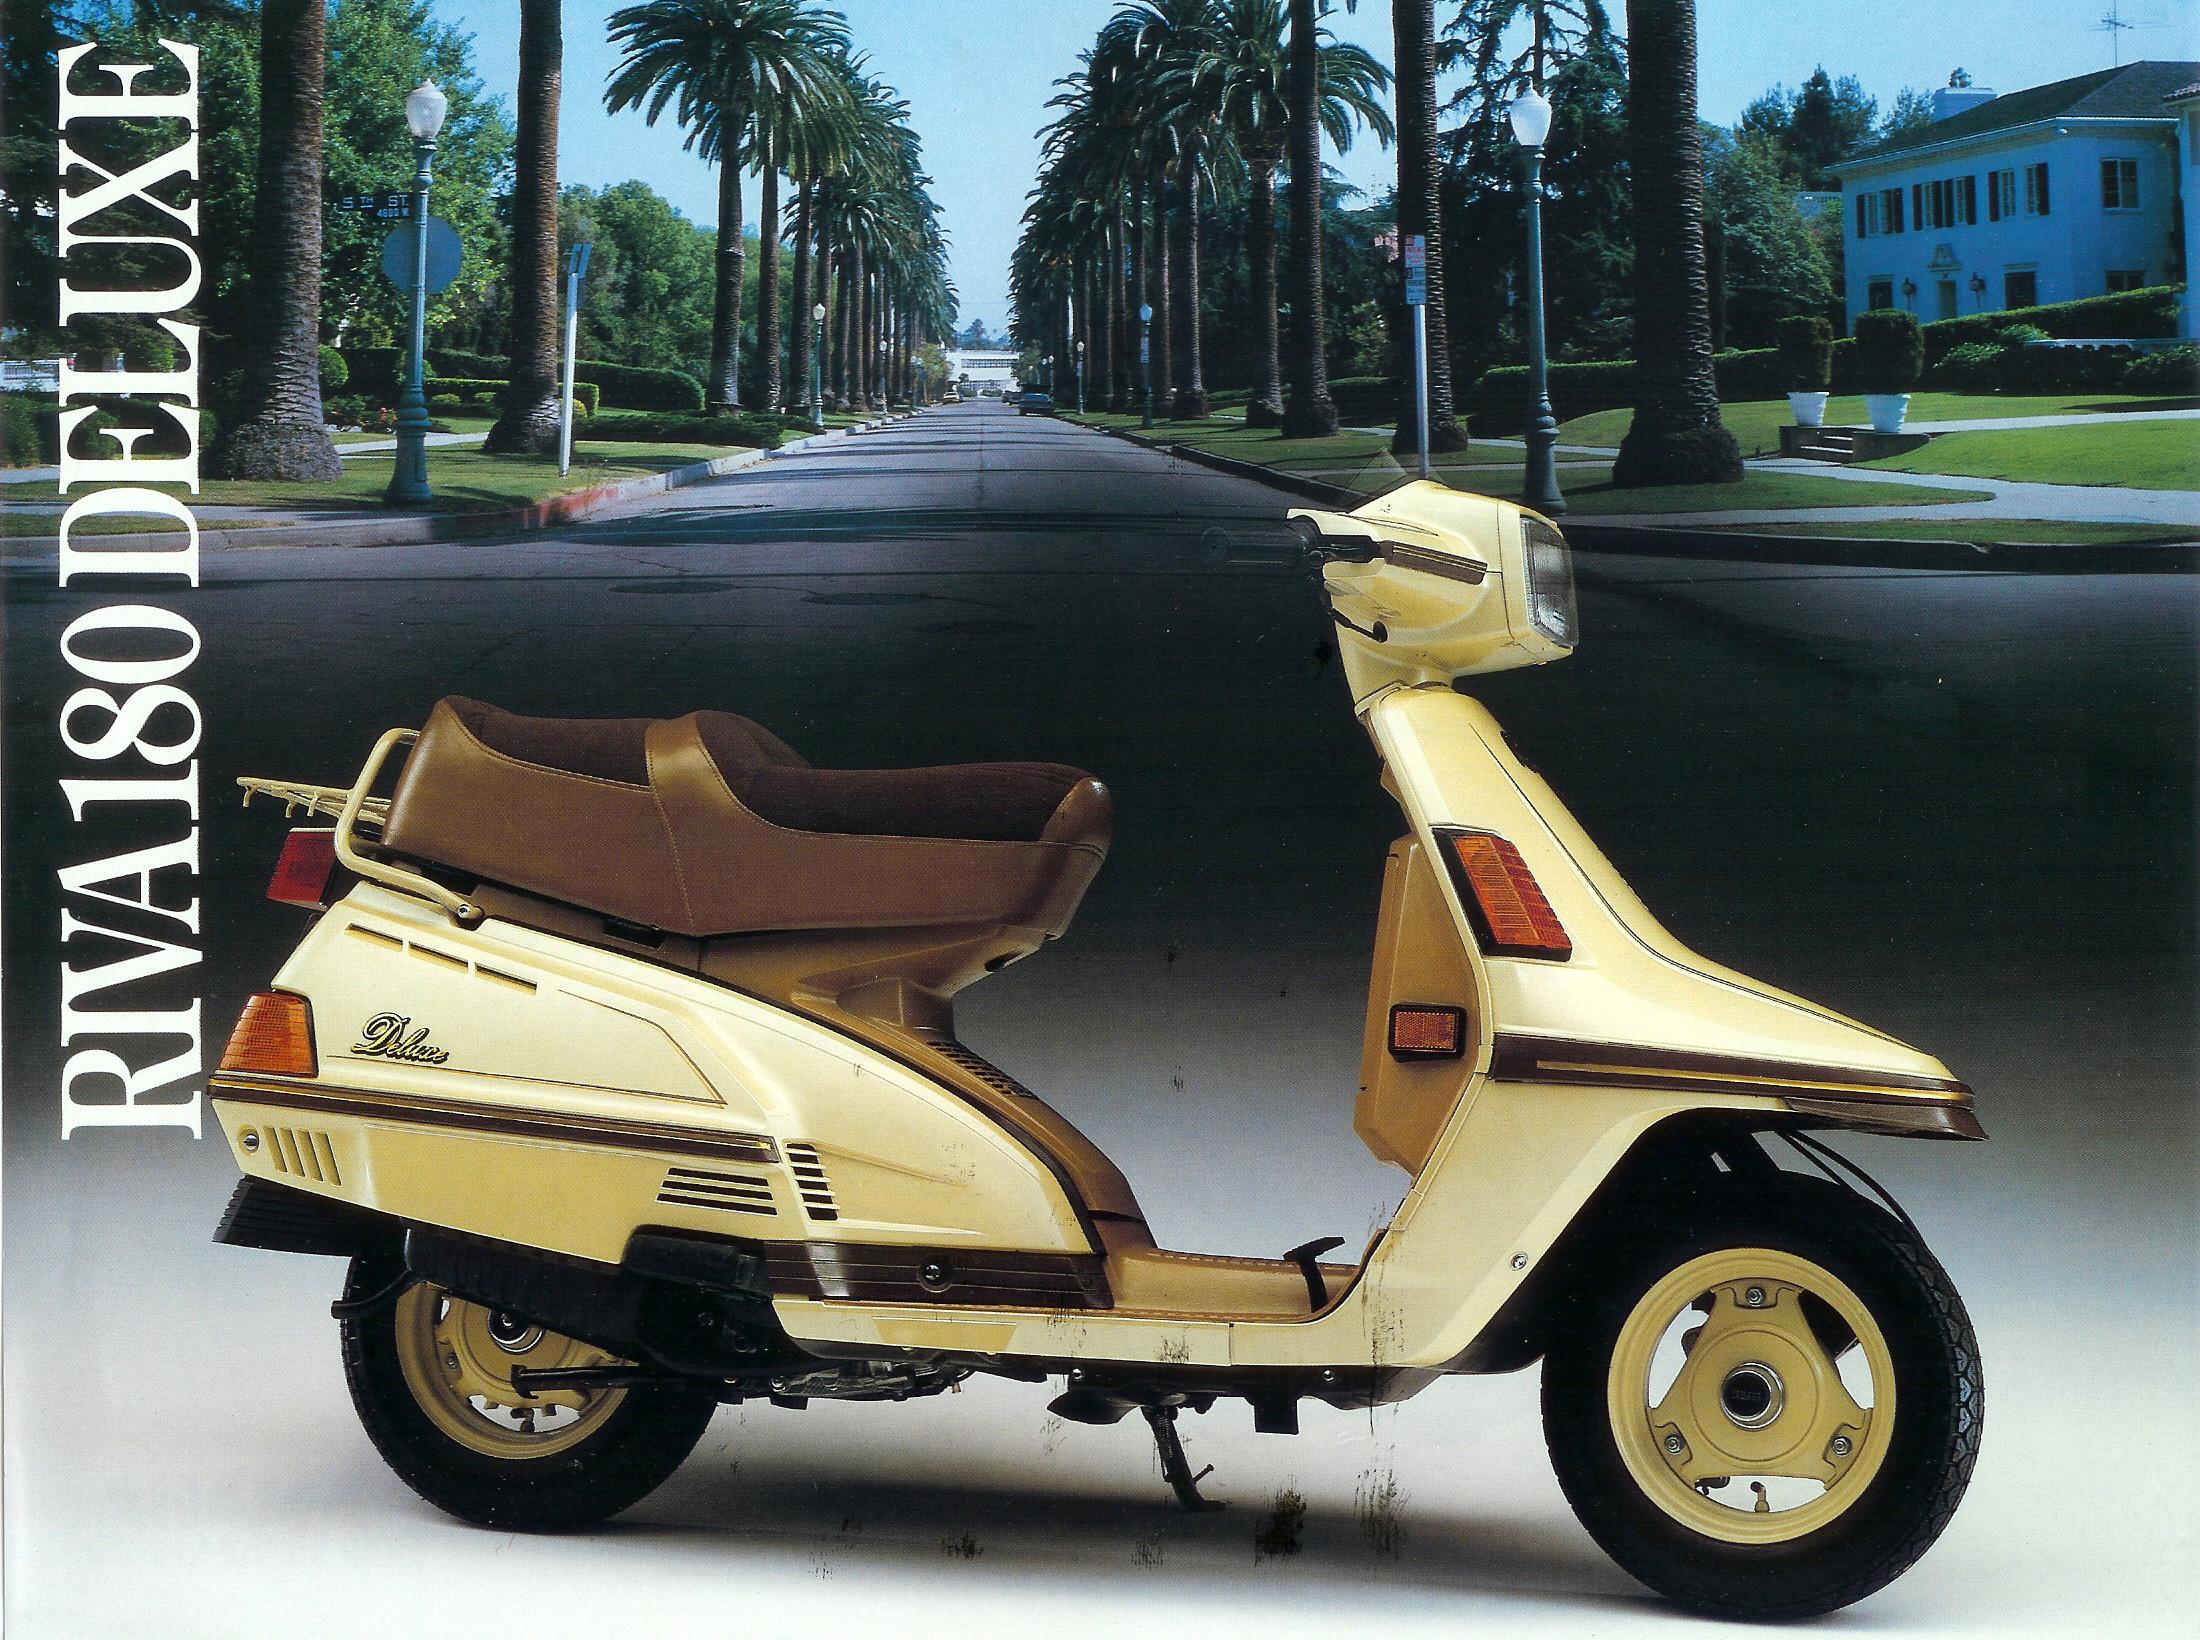
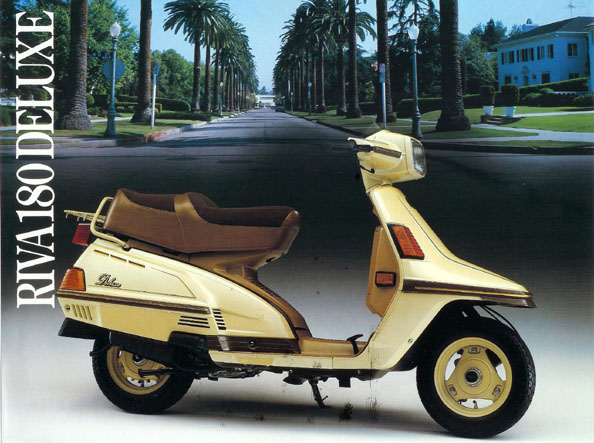
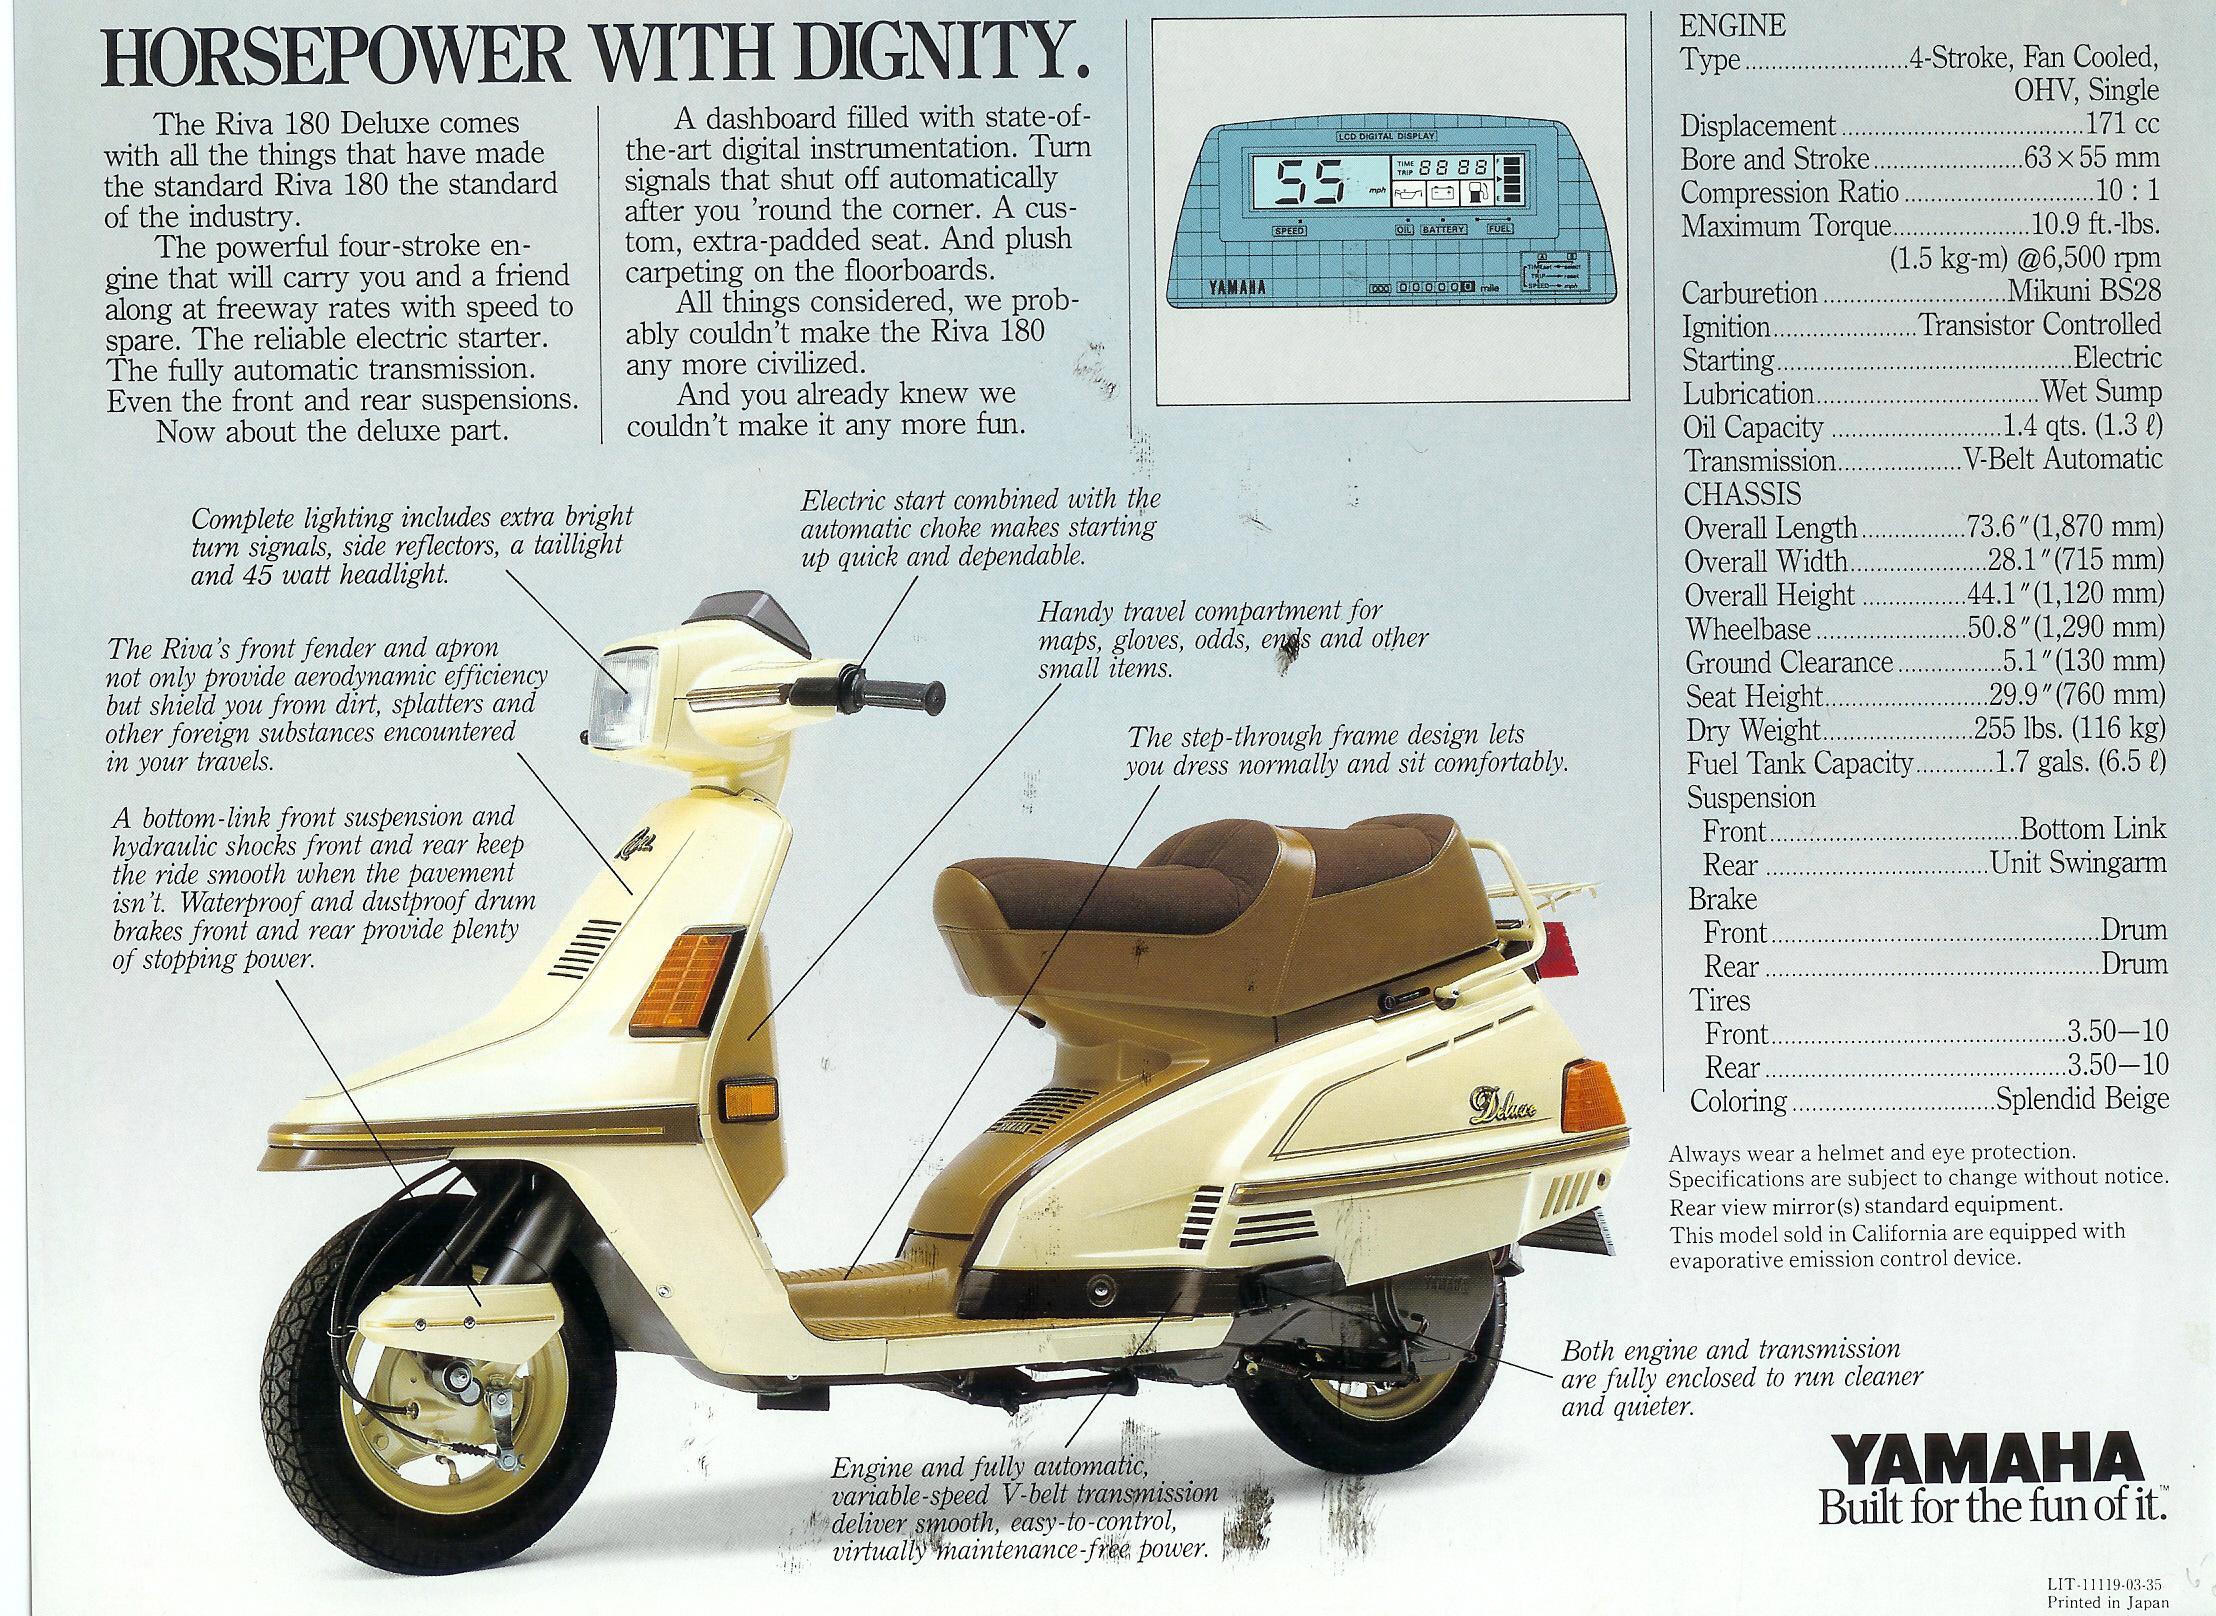
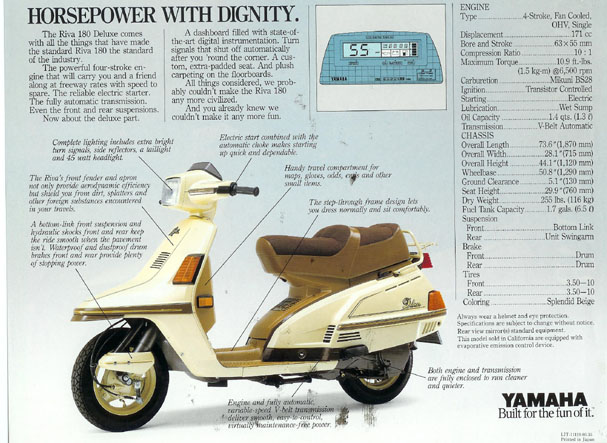
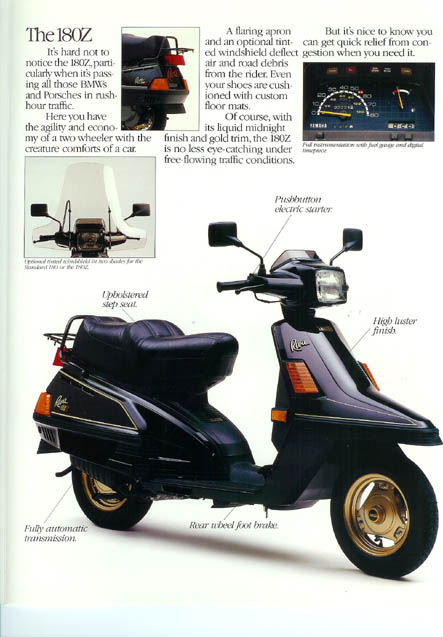
| Riva 180 Deluxe front | full size | small | Riva 180 Deluxe back | full size | small |
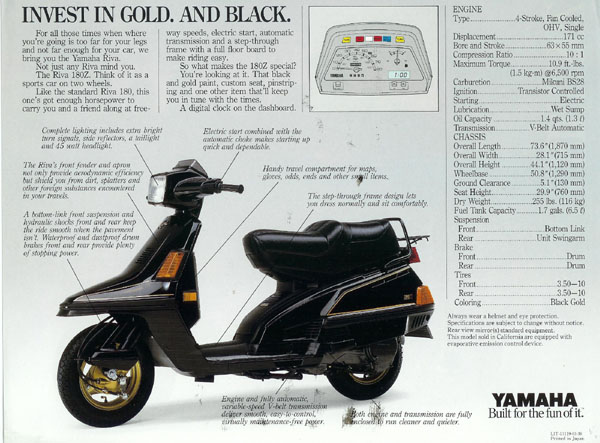
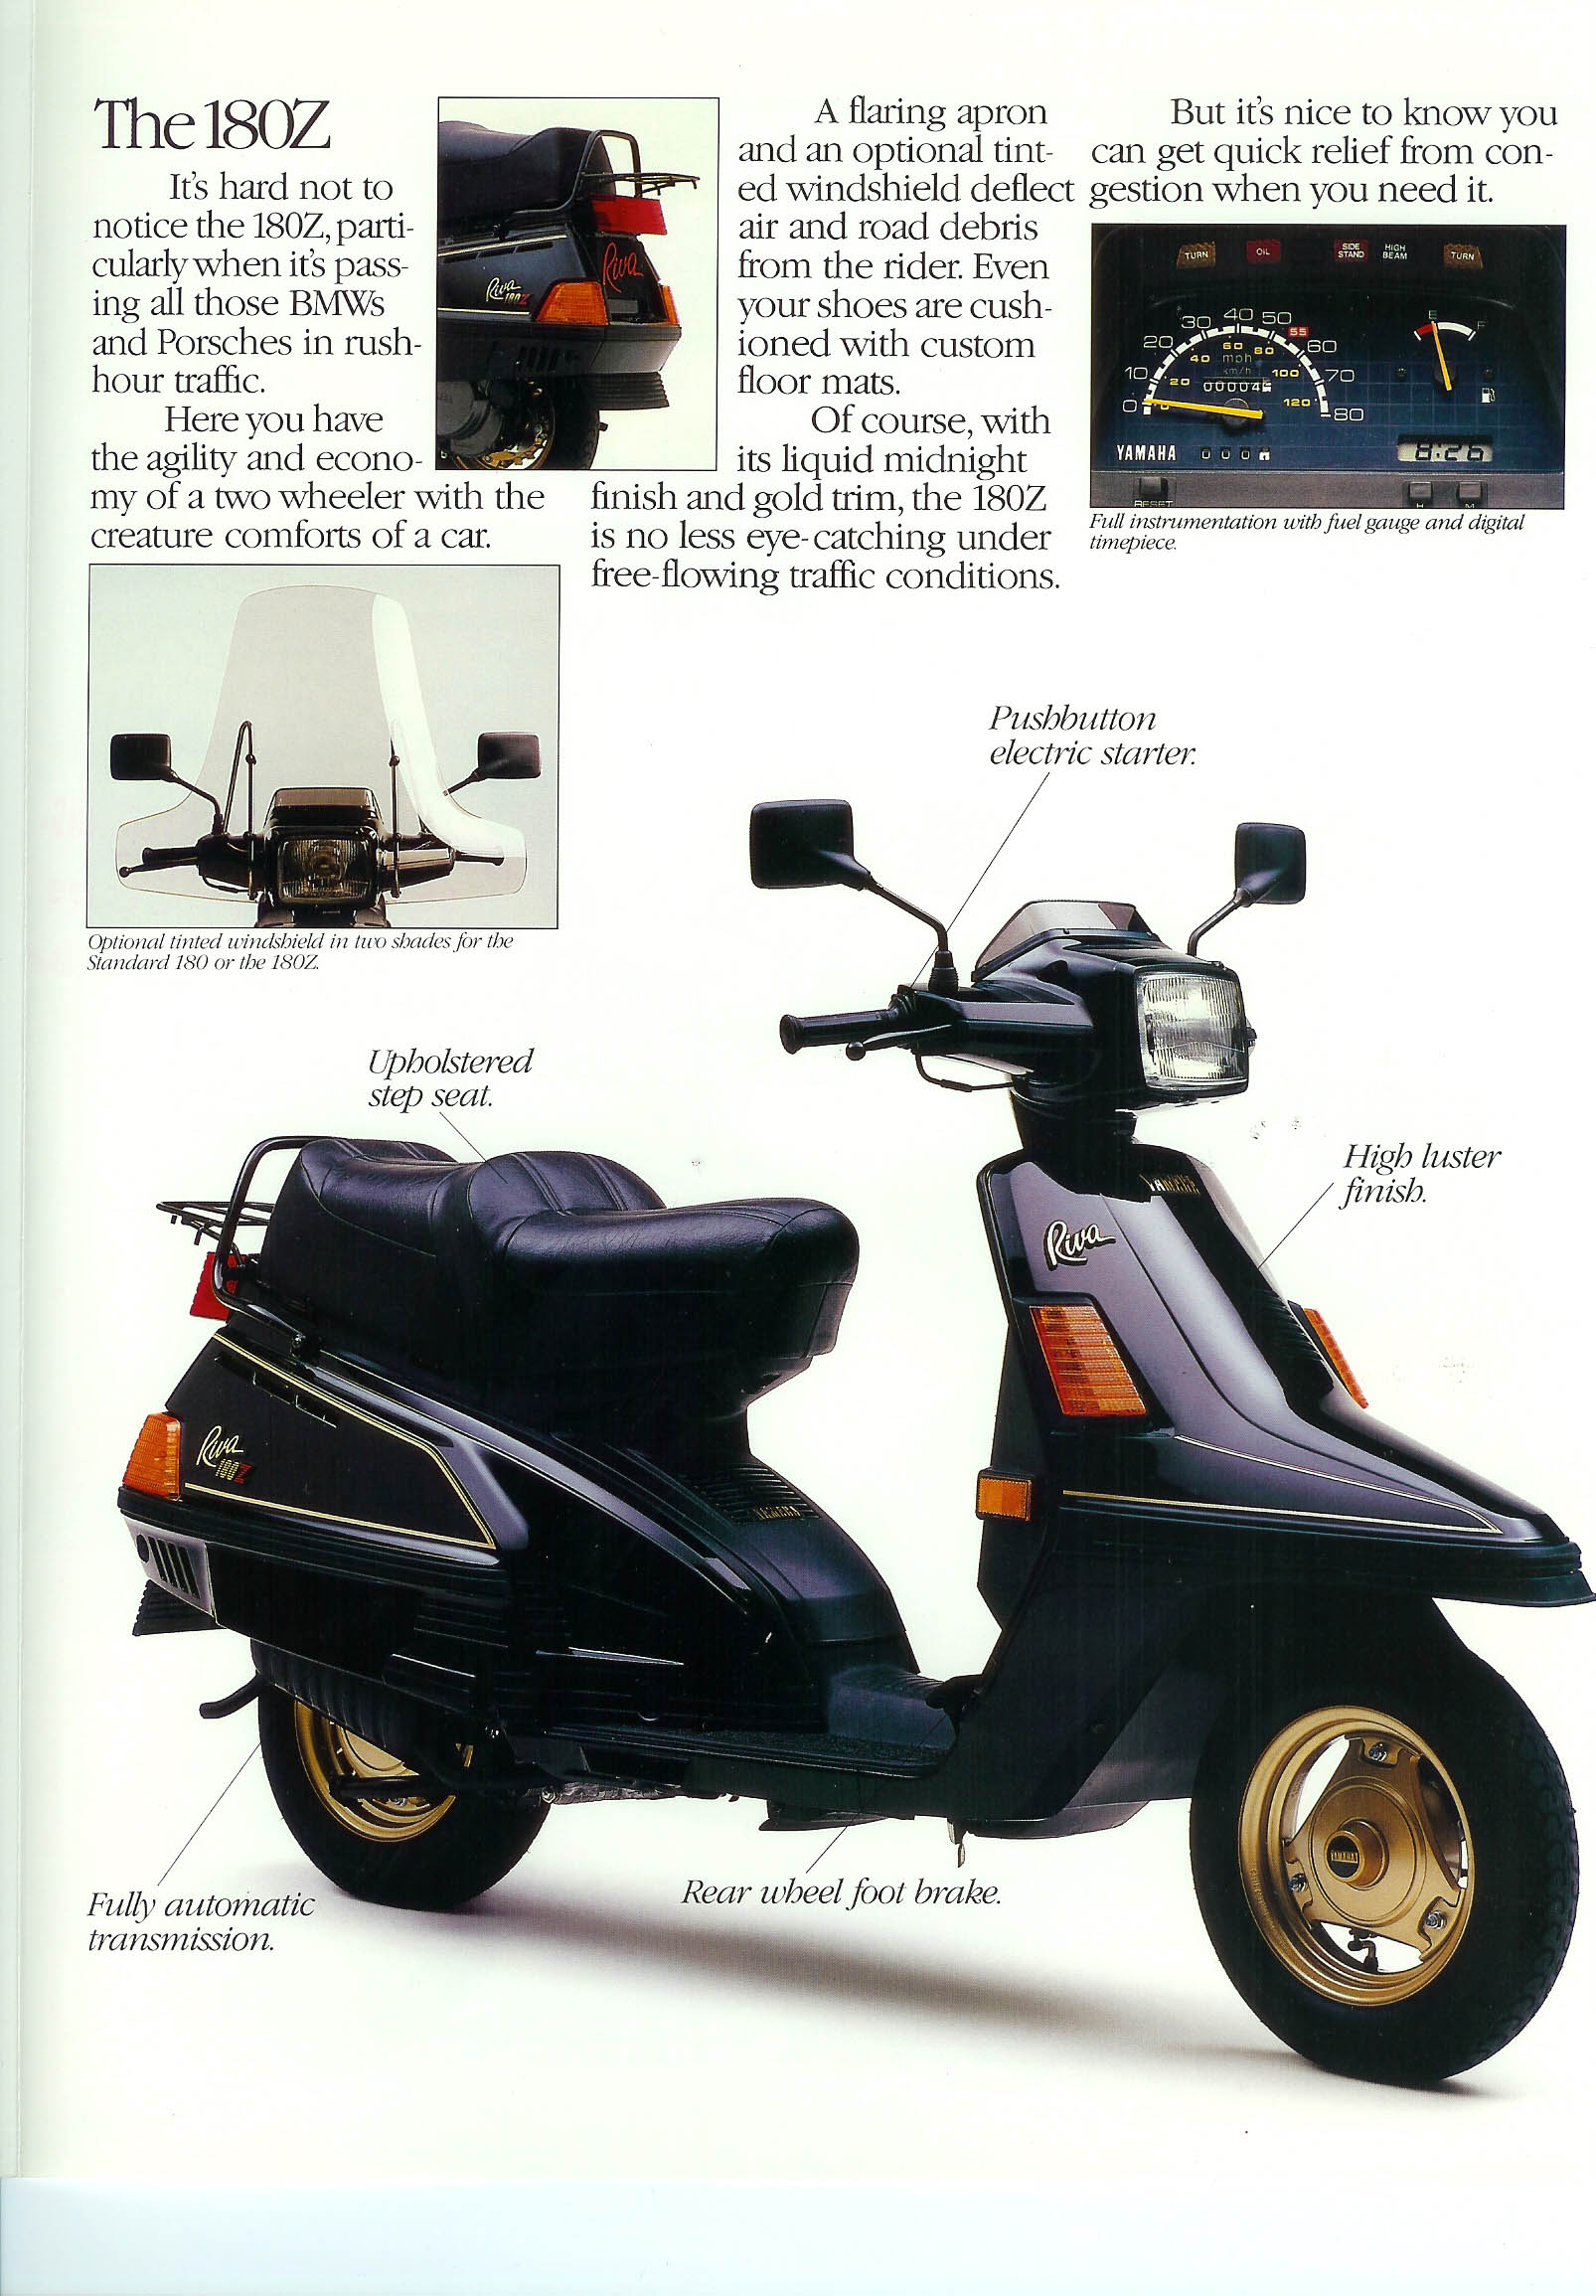
| Riva 180Z front front | full size | small | Riva 180Z front back | full size | small |
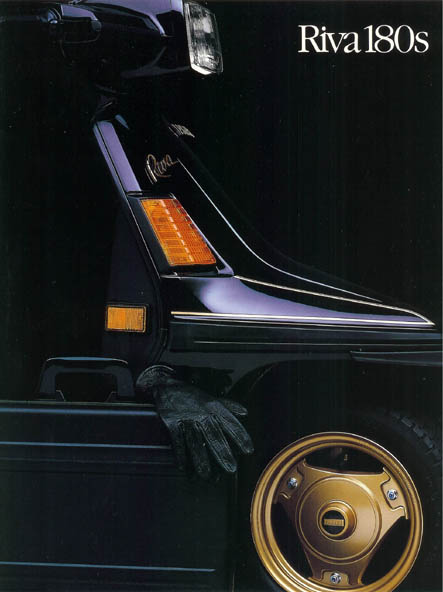
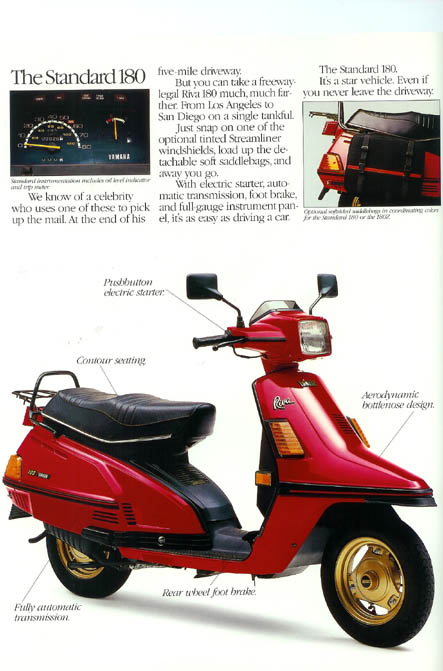
| Riva 180 page 1 | full size | small | Riva 180 page 2 | full size | small |
| Riva 180 page 3 | full size | small | Riva 180 page 4 | full size | small |
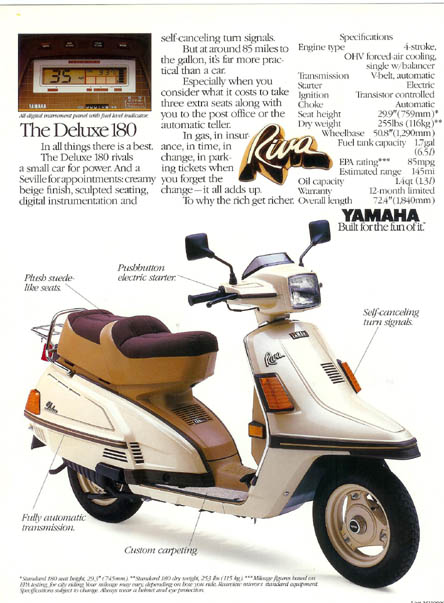
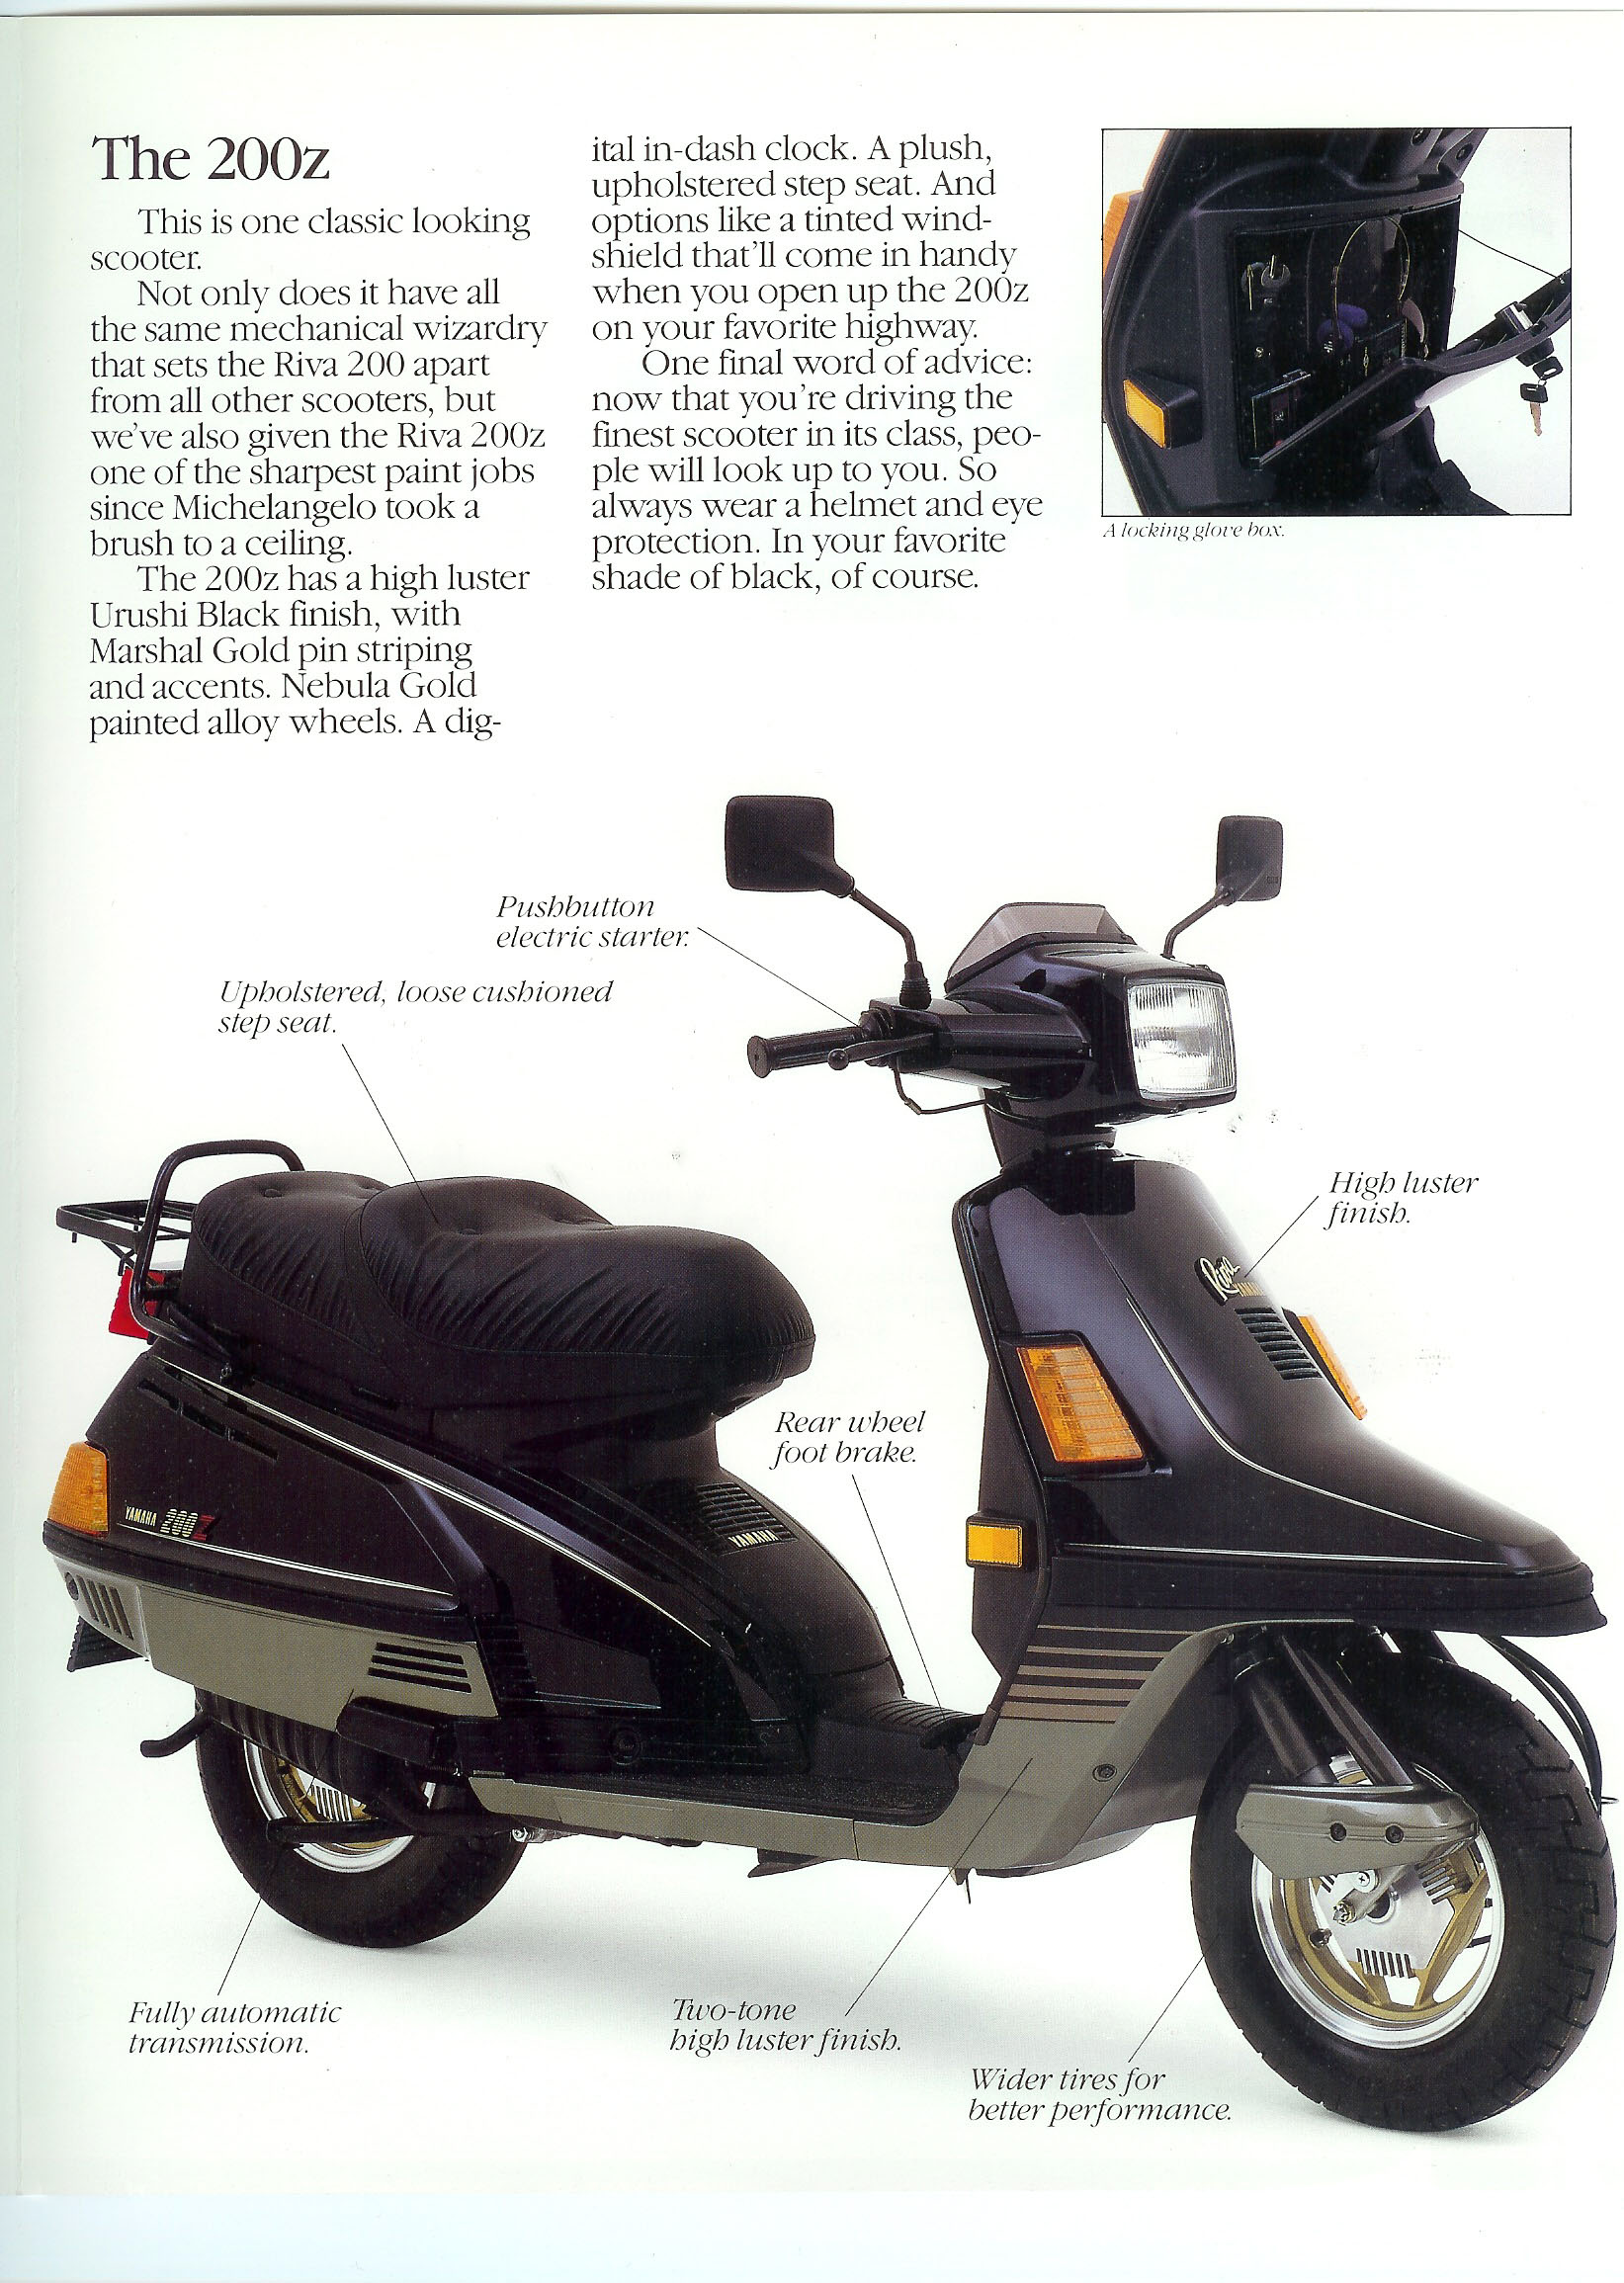
| Riva 200 page 1 | full size | small | Riva 200 page 2 | full size | small |
| Riva 200 page 3 | full size | small | Riva 200 page 4 | full size | small |
Riva 50/80 full size small XC180 full size small
VIN information and model designations
This info is far from complete...I'm having a hard time finding it
VIN info 50, 80, 125, 180, and 200 models
model numbers for 50, 80, 125, 180, and 200 models
Maintenance Information
I got these from the factory service manualsQT50 Yamahopper/MJ50J Towny/LC50 Champ CA50 Riva CV50 Riva CW50 Zuma SH50 Razz CG50 / CE50 Jog
LB50P Chappy YW50A Zuma CV80 Riva LB80 Chappy XC125 Riva 125 XC180 Riva 180 XC200 Riva 200
Owner's Manual/Service Manual part numbers
You can still get quite a few manuals direct from Yamaha! The Owner's Manuals are $30 and the Service Manuals are $60.Honda vs. Yamaha scooters
Honda scooters are generally quite reliable, but they have their own personalities. I'm not looking to get into a religious war here :>), but in general, the Hondas seem to hold up better than the Yamahas and they definitely have fewer starting problems than the bigger Yamahas. The Hondas require a little more maintenance, due to the water cooling and need for valve adjustments. New parts are more easily available from your local Honda dealer than from Yamaha. Also, new Service Manuals are generally available from www.helminc.com .
Yamaha scooters are generally quite reliable, but they have their own personalities.
Starting problems with the Riva 180
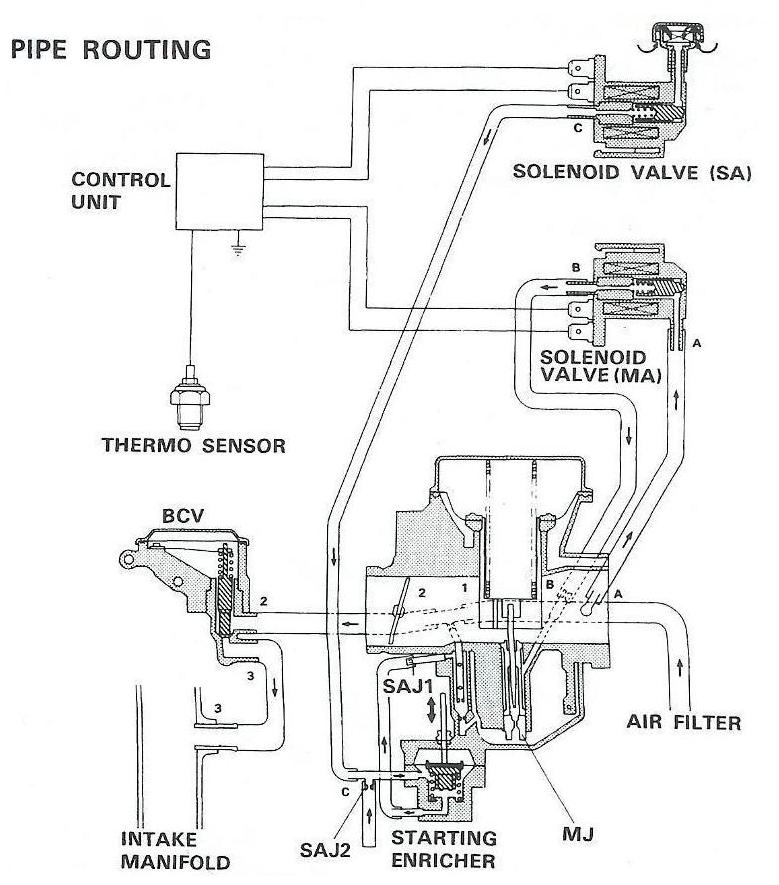
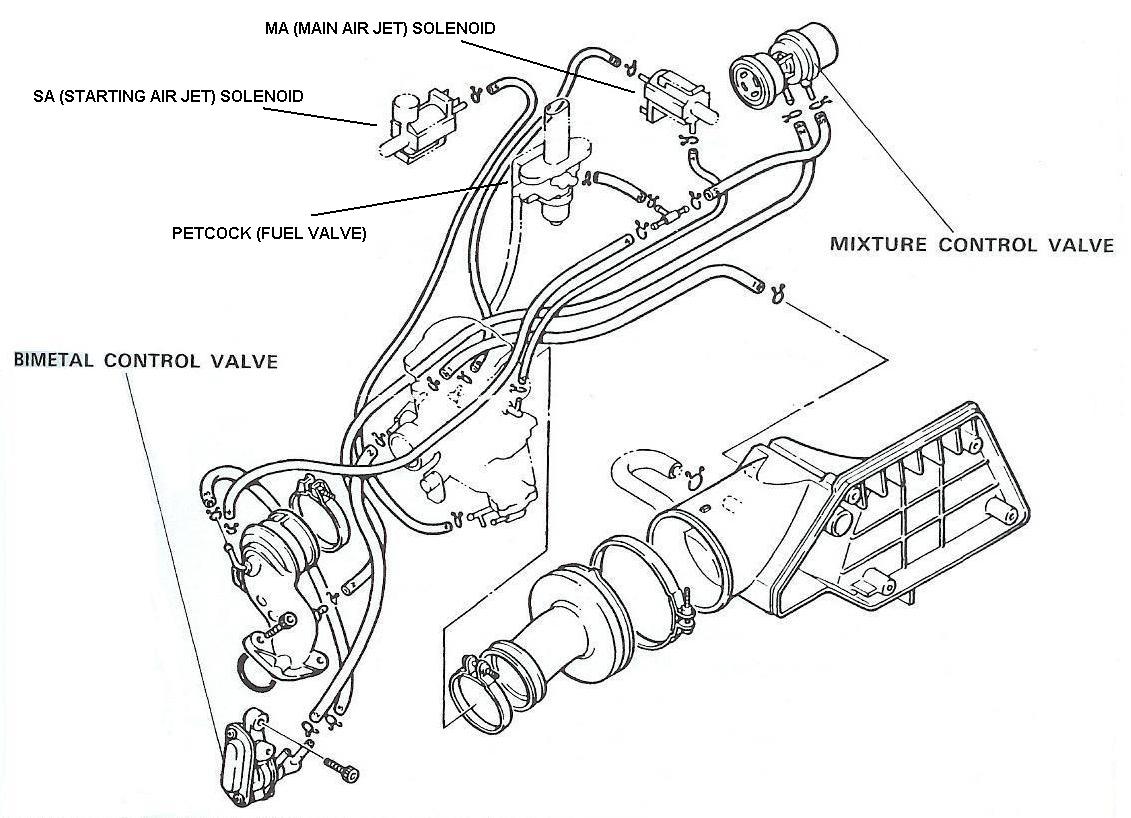
Here, I’m speaking mostly of the Riva 180, manufactured from 1983 - 1985. This scooter is famous (or infamous) for the "starting problem". It has a very complex carburetor/starting system. Maybe this system worked ok when the scooter was new but nowadays after more than 15 years, it can have problems. The best way I can describe it is to say that I’ve had about 11 Honda Elite scooters and 9 or 10 Riva 180 and 200 scooters. Most of the Hondas have started fine, but most of the Yamahas (especially the 180) have had starting difficulties or some sort.
Aside from the usual setup (carb, coil, etc), the Riva 180 has two solenoids, something called a bi-metal control valve(BCV), a mixture control valve, a thermo sensor, and a black box control unit for the solenoids. There are something like 9 hoses going to the carb. As you can imagine, it’s quite a job to remove the carb for cleaning, and then to try and reinstall it properly. All of these parts have to work together properly to get the scooter to hot and cold start. The main problems I've seen (in order of frequency) are:
Carburetor hose routing diagram
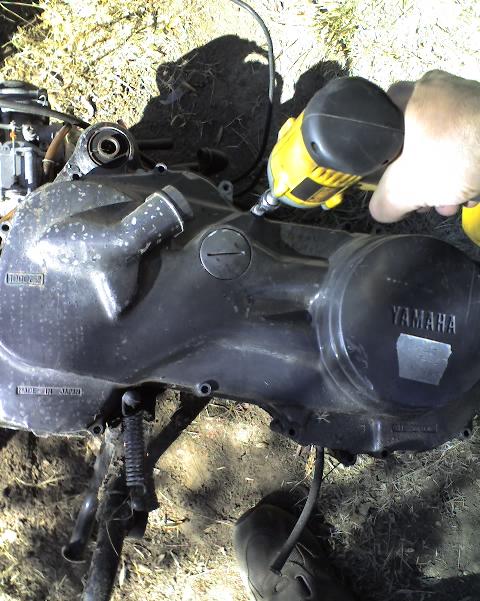
With practice the engine can be removed in less than 15 minutes. When working on the carb, I find it way easier to remove the engine than to try and work on it in place.
Tips
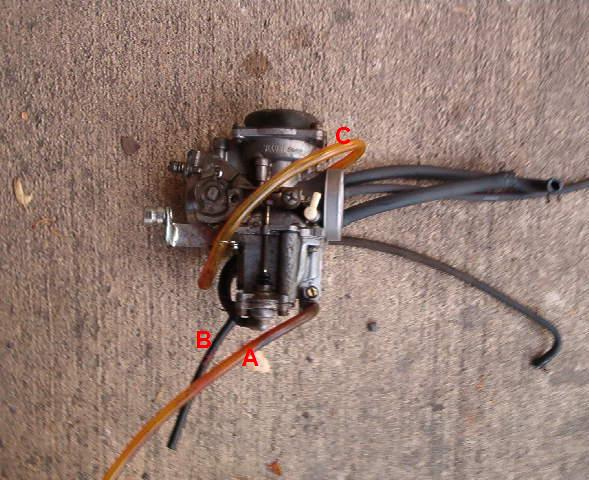
Broken carb nipple on the Riva 180 carb
There is a small fitting in the middle of the carb. It is next to the carb inlet (the big circle at the back of the carb) on the lower left side. This is where a plastic 90 degree fitting should be. This hooks into the of the MA solenoid nipples. The MA solenoid is the one that has two nipples instead of one. The hose hooks into the nipple that faces downward. It's pretty common that this plastic fitting will break off. An easy fix is to buy a brass tube, available in a 1 foot length at your local hobby store. I don't remember the exact diameter so you will have to measure the bit of brass nipple that is left. Cut off a ~1" piece and epoxy it in place for a permament fix.Fan run-on problems with the Riva 180
The Riva 180 uses an electric fan in the engine area to cool the carb (probably to help prevent vapor lock). There is a thermo switch attached to the bottom of the carb, which is supposed to control whether the fan is on or not. On most 180’s this switch seems to have worn out. The fan stays on all the time, even with the ignition off. This will wear out your battery in a short amount of time.
You have at least three choices: 1) Do away with the fan entirely. Assuming you don't ride you scooter on many 100 degree days in stop-and-go traffic, I would think that you'd be ok. I have never had a carb problem with the fan removed. 2) Get the specs of the thermo switch [the thermoswitch is closed (infinite resistance) up to a temperature of 54 degrees Celsius (129 degrees Fahrenheit). It opens up (zero resistance) at higher temperatures.] and source a replacement part at your local electronics shop. 3) Wire a switch in-line with the fan, and just turn off the switch when you stop your scooter.
The Riva 200 has a redesigned carb so it does not need a fan.The Riva right hand mirror screws in the wrong way
Most Yamaha scooters have a right hand mirror with left-handed threads. So it screws in the opposite way as the left hand mirror. This was done for safety reasons. If you bump something with the right hand mirror as you're riding, it will just loosen the mirror. If this mirror had standard right-handed threads the bump would try to tighten the mirror. This may not be possible, and could lead to a broken mirror mount or even cause you to lose control and fall.The Riva 180 single sided fork
The Riva 180 uses a single sided fork. It generally holds up well, but in an accident it can be bent without too much effort. It can usually be straightened. You have to remove the fork and heat up the base of the steering head with a welding torch. Then just straighten it out. This is harder than you might think because you have to remove the fork, and mount it in a large vise, heat it until it's red hot, and straighten it by eye. The Riva 200 has a convential two sided fork, which is much stronger.
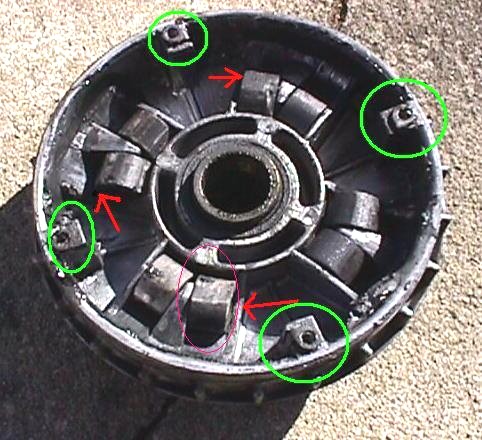
Riva 125/180/200 front shieve weights and sliders
These weights go inside the front pulley (AKA variator ) in the transmission case. The weights are made of plastic with a brass center. After a number of years, the weights will wear out (see the weight circled in purple in the pic) because of poor lubrication. They become flat on one or more sides (they are supposed to be round). The wear occurs because these weights slide up and down small ramps within the shieve. They were lubricated at the factory, but over the years the grease will harden and not work properly. It will also fly to the outside of the variator due to centrifugal force (the variator spins at engine speeds, which are rather fast). These weights slide up the ramps at higher engine RPM's, which moves the variator halves and forces them together. As the halves are forced together, the drive belt rides up higher between the halves, resulting in taller gearing. In any event, these weights are really expensive new from Yamaha (dealer cost is around $17 each and you need 8 of them!) I'm currently trying to source some custom weights for a much lower cost.
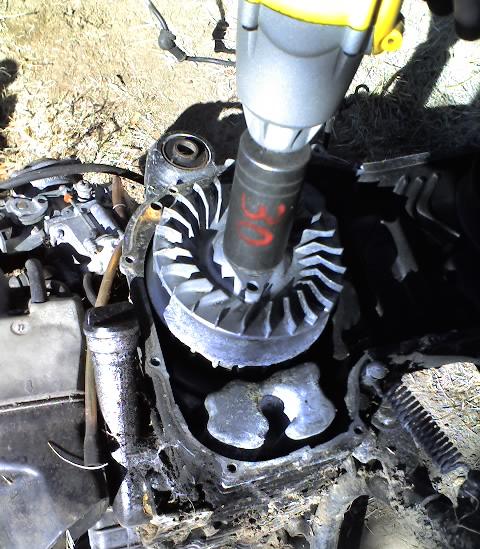
Here are the steps to remove the shieve and the clutch:
Remove the 10mm bolt in the floorboard on the left rear side
Remove the two 12mm bolts holding on the left passenger peg and remove the peg
Remove the fourteen 5mm allen bolts holding on the engine case
Use a chisel to bend back the locking tab on the shieve Remove the 30mm shieve nut (it's way easier with an impact wrench)
The clutch is held on by a 24mm nut
Also noted in the picture is mechanical damage to the sides of the ramps (red arrows in the pic). This is somewhat rare, but it does happen. Notice that only one side of the ramps is damaged. The damage occurs because of slider wear (green circles). The sliders become thin and brittle over the years. When they break, metal-to-metal contact occurs between the spider (the outside of the shieve - not shown in the pic) and the variator hub. This is bad news! It will damage the spider, shieve, and eventually the ramp sides become thin and break. Only one side of the ramp breaks. This is because the rotation of the shieve wears only one side. The sliders are plastic bushings that fit in the outside of the variator (in the spider). These fittings also wear out over time. If they wear through there is metal-on-metal contact within the variator. The metal spider wears on the aluminum hub and does a lot of damage over time! The sliders also retail for about $17 each (you need 4 of them). I have replacement rollers ($45 / set) and sliders ($10 / set).
Riva 125/180/200 headlight bulbs
The stock replacement bulb (40W low beam, 45W high beam) can be hard to get. With a little manipulation you can replace the stock bulb with a type H4 bulb, usually available at your local auto store. But the headlight beam pattern is not very good. This bulb is rated at 50W low beam and 60W high beam. Your charging system should be able to handle this load without a problem.
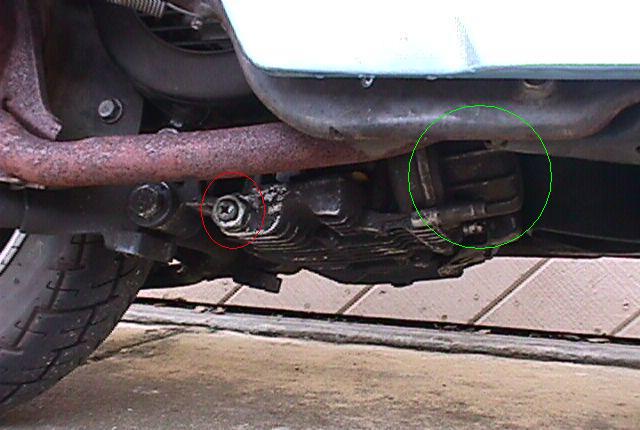
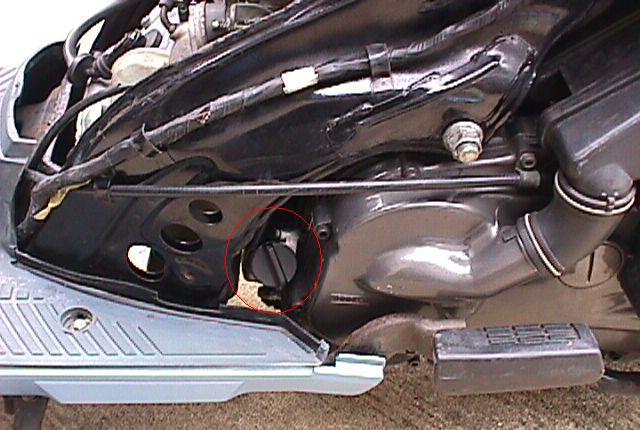
Riva 180/200 engine oil changes
These Riva models use an oil filter, located under the engine (green circle in the pic). To change it you need to remove the three 5mm allen screws holding the oil filter cover. This cover is underneath the scooter, on the right hand side. The oil drain bolt is on the lower right hand side of the engine (red circle in the pic). Engine oil will drain best if you remove the filler cap and warm up the engine first. Set the scooter on its side stand - the centerstand is in the way of the oil drain plug. Hold the scooter upright or slightly to the right to drain the last bit of oil. The oil filler cap is on the left side. Refill with a great quality synthetic oil (I use Mobil-1 or Castrol synthetic) or a great quality petroleum oil (Castrol GTX, Honda motorcycle oil, Kendall). Change the engine oil every 1000 miles. The drain bolt torque is 31 ft-lbs or 43 Nm. The oil filter cover drain bolt torque is 7 ft-lbs or 10 Nm. Warm up the scooter enough so that the oil flows freely, and not so much so that you burn your hands on the hot oil during the oil change :>). The total cost is only about $10 ($5 filter and $5 for 1.4 quarts of synthetic oil) - your engine will appreciate it.
Riva 125 / 200 carb bystarters
The bystarter is an electrical device that controls the flow of air into the starting circuit. When the scooter is cold, the bystarter lets air flow into the starting jet. This creates a richer mixture (higher fuel / air ratio) so the scooter can run better when its cold. There is a small heater built into the bystarter. As the scooter warms up, the bystarer also heats up. A plunger will push into a fitting that will shut off air flow to the starting jet. This leans out the mixture.
After a number of years, the bystarter will go bad. Unfortunately, new ones are very expensive - like around $200. If you don't want to spend that much money, I don't have a good solution other than to try and find a used bystarter or to create a manual choke. Sounds like a good project...Idle adjustment
Does your scooter quit when you're sitting a a stop light? Do you have to give it a bit of throttle to keep running? If this is the case your idle is too low. It's easy to adjust. The idle adjustment screw is located on the carb, but the exact location of the screw varies from scooter to scooter. As soon as you locate it, turn it in about 1/4 turn. Start the scooter and blip the throttle (open and close it quickly) a few times. Does your scooter idle now? If not you can turn in the screw a bit more (maybe another 1/4 turn).
Riva 180/200 muffler bolt stripping
The two 12mm bolts that hold the rear portion of the muffler in place can be stripped out if you're not careful. They are bolted to an aluminum mount which has rather soft threads. The threads will strip if you apply too much torque upon reassembly. There are three fixes: 1) Sometimes you can get away with slightly longer bolts, that will grip the undamaged threads deep in the hole. 2) Drill out the holes and apply a heliocoil kit. The heliocoils are much stronger than the aluminum threads. 3) Drill and tap the holes to accept larger bolts. I've used bolts with 14mm heads (this is actually called a 10mm bolt vs the standard 8mm bolt) with good success.
Instead of over torquing the bolts, just use something like blue loctite to hold them in place.Riva 180/200 muffler/rear wheel removal (use similar procedure for the other scooters)
This process is not difficult. Remove the LH side panel. There are two 12mm bolts and two 6mm allen bolts holding the muffler in place. First remove the two 6mm allen bolts at the exhaust manifold. Then remove the two 12mm bolts on the muffler. You want to remove the two allen bolts first because you don't want the muffler hanging from the tip of the exhaust pipe. It will put a lot of stress on the tip of the exhaust pipe and the exhaust port. At this point the muffler is loose. You may have to wiggle it a bit to break it free if it has been on the scooter a while. There will be a copper O-ring inside the exhaust port. This O-ring should be replaced with a new one so that you'll have a good seal when you re-install the pipe. If you really want, you can usualy re-use this O-ring if you anneal it first. Heat it up with a propane torch until it's red hot, then drop it in a pan of water. This process will soften it so that it can be re-used. [ technical note - It turns out the non ferrous metals like copper and brass do no respond the same way that steel responds when cooled rapidly. While steel becomes harder when cooled rapidly, these other metals are virtually unaffected. You can heat ‘em up and drop them in water with no ill effects. Water cooling is the preferred method when doing copper annealing because it prevents oxidation.]
To remove the rear wheel, first pop off the wheel cap with a flat blade screwdriver and remove the cotter pin on the axle. Then remove the 22mm nut on the axle. An easy way to do this is with an impact driver. If you don't have one, just use a 22mm socket/ratchet or a 22mm box end wrench. Depress the rear brake pedal with your right foot and give the ratchet or wrench a wap with a rubber mallet or small piece of 2 X 4 to break the nut free. It may be difficult to remove the nut unless you use this type of impact action, especially if the nut is on there really tight.Jog air boot
I once cracked the air boot on my Jog when I hit a pothole in the road. At first, I didn't know what happened. The scooter would barely run. It wouldn't accept any throttle at all. Then I found the problem and taped it up with duct tape until I got home. The boot design and boot material lead to the failure.
Riva 180 / 200 ignition box
I got this tip from Graham Motzing. The TCI (transistor controlled ignition) box is a small black box located on the rear right hand side of the scooter. Graham had a Riva 180 that didn't have spark, so he suspected the ignition box was bad. He was able to get the box apart for an inspection. Sure enough, he found some bad solder joints . After some quick and careful soldering, the box was working fine and he had a running Riva.
© Copyright 2002-2011 by Jack Stanley. All Rights Reserved.
|